
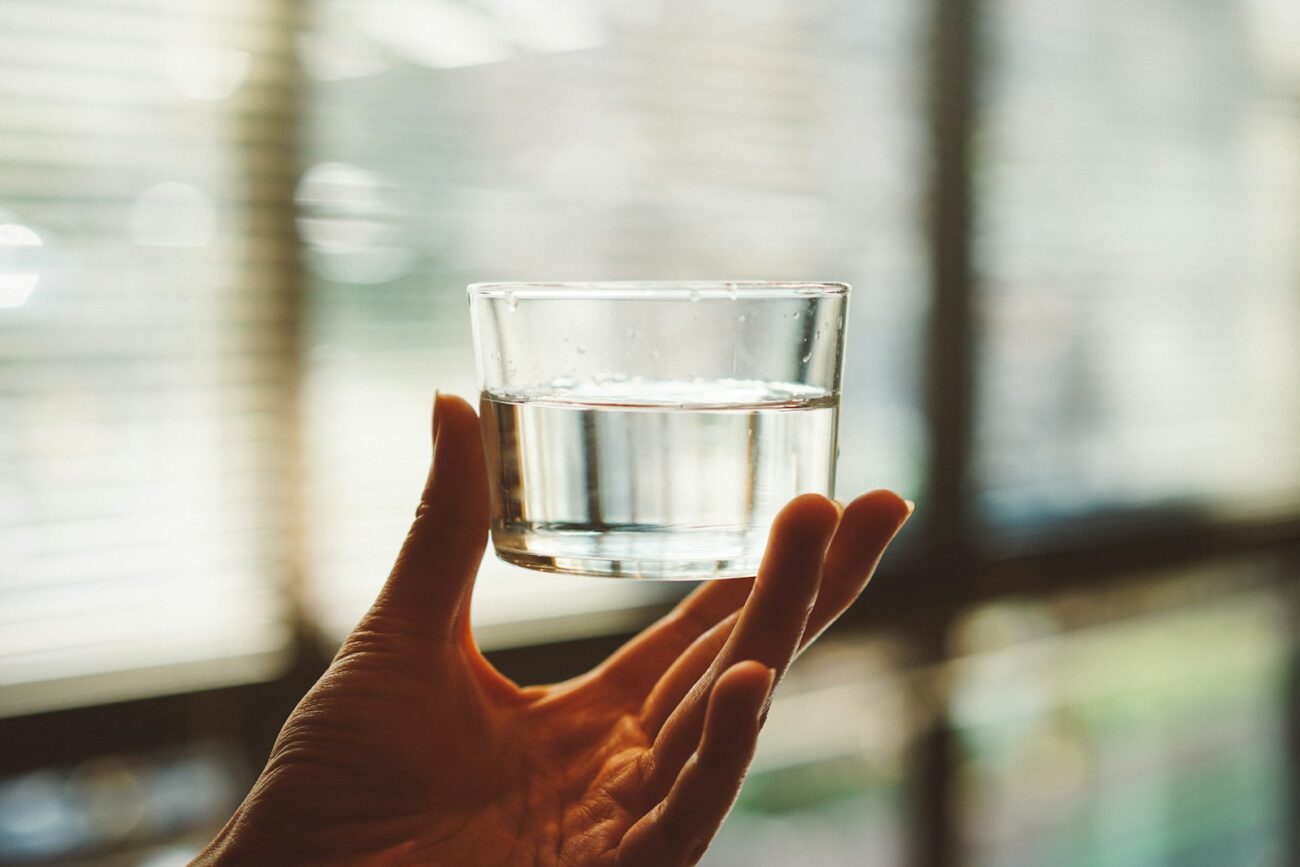
In survival situations, securing clean water is a paramount priority, often more urgent than finding food or shelter. When venturing into the wilderness, whether for recreation or in an emergency scenario, knowing how to locate, collect, and purify water can mean the difference between life and death. Dehydration can set in quickly, impairing judgment and physical capabilities within hours. This guide aims to equip beginners with practical knowledge on finding water sources in various environments, recognizing potential contaminants, and employing different purification methods to ensure safe drinking water when traditional resources aren’t available. With climate change increasingly affecting water availability and purity worldwide, these skills are becoming more relevant not just for outdoor enthusiasts but for anyone who might face emergency situations.
Understanding Your Water Needs
The human body requires a minimum of 2-3 liters of water daily under normal conditions, but this requirement increases significantly with physical exertion and in hot environments. In wilderness situations, you should plan to consume at least 3-4 liters daily to maintain proper hydration, especially when hiking or performing other strenuous activities. Dehydration symptoms begin appearing after losing just 2% of your body weight in water, manifesting as headaches, fatigue, and decreased cognitive function. At 5-6% dehydration, more severe symptoms occur including dizziness and increased heart rate, while 10-15% dehydration can be life-threatening. Understanding these requirements helps emphasize why finding clean water sources should be your top priority in any wilderness situation.
Recognizing Environmental Water Indicators
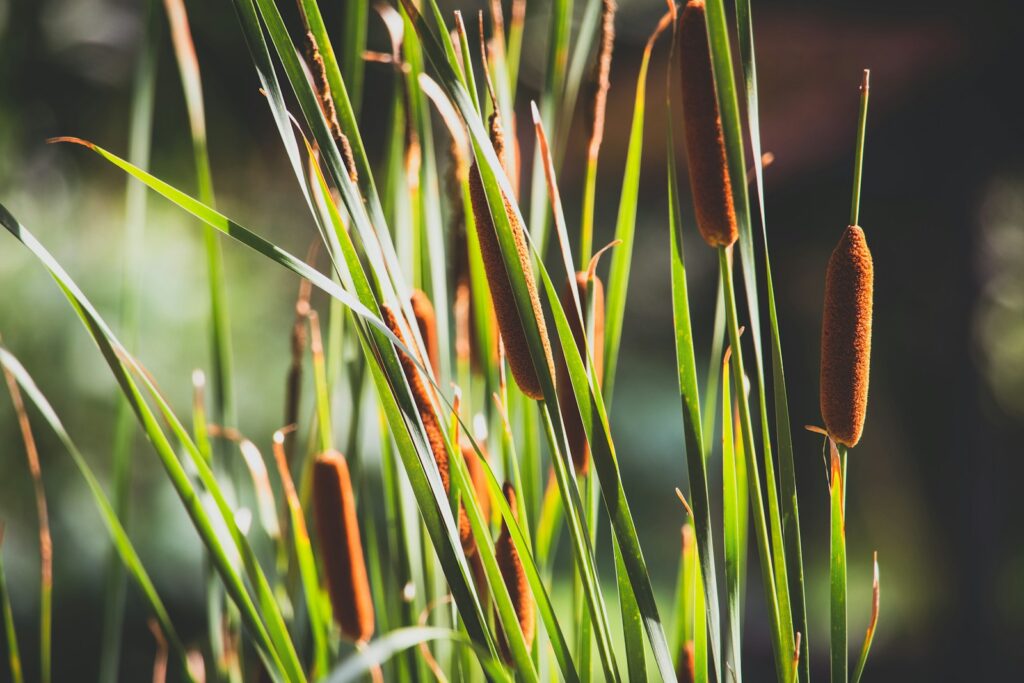
Nature provides numerous clues that can lead you to water sources if you know what to look for. Vegetation changes often signal water proximity – look for areas with greener, more lush plant growth or clusters of water-loving plants like cattails, willows, cottonwoods, or sycamores. Animal behavior can also guide you to water, as many species follow regular paths to water sources; converging game trails often lead to water, and insect swarms (especially mosquitoes) typically congregate near standing water. Morning dew collection points and the presence of birds (particularly dawn or dusk flyovers in consistent directions) can indicate nearby water sources. Additionally, topographical features like valleys, gullies, or depressions in the landscape naturally collect and channel water, making them promising areas to search.
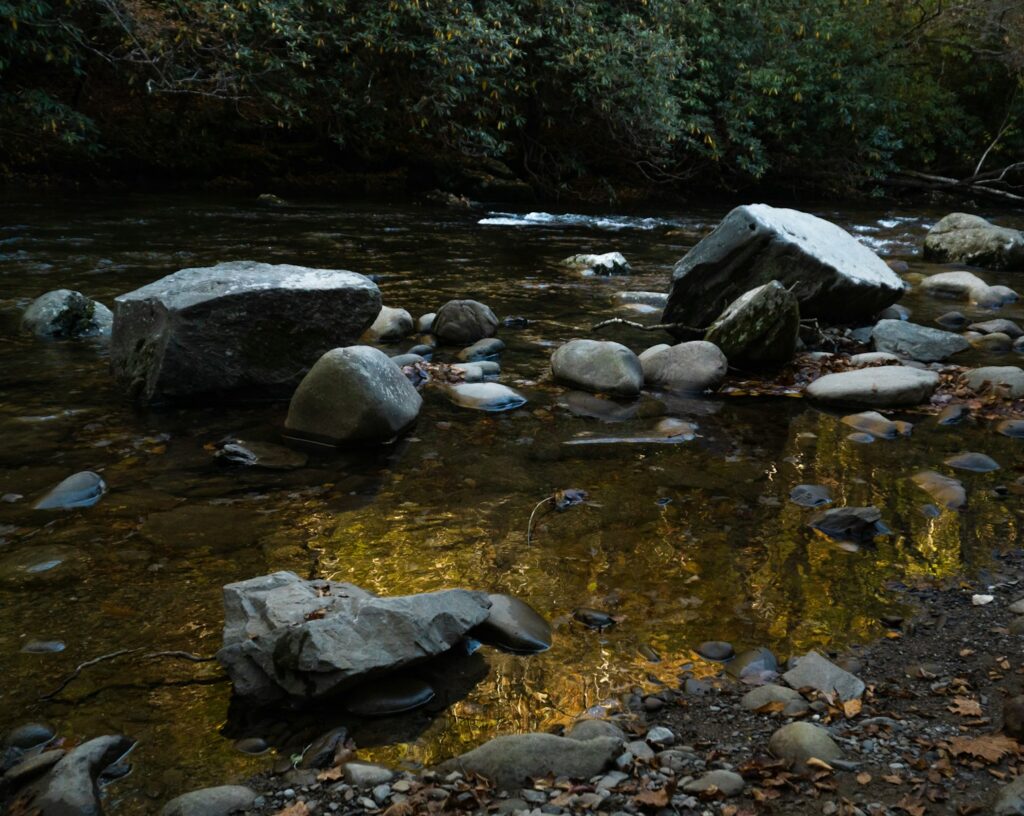
Surface Water Sources
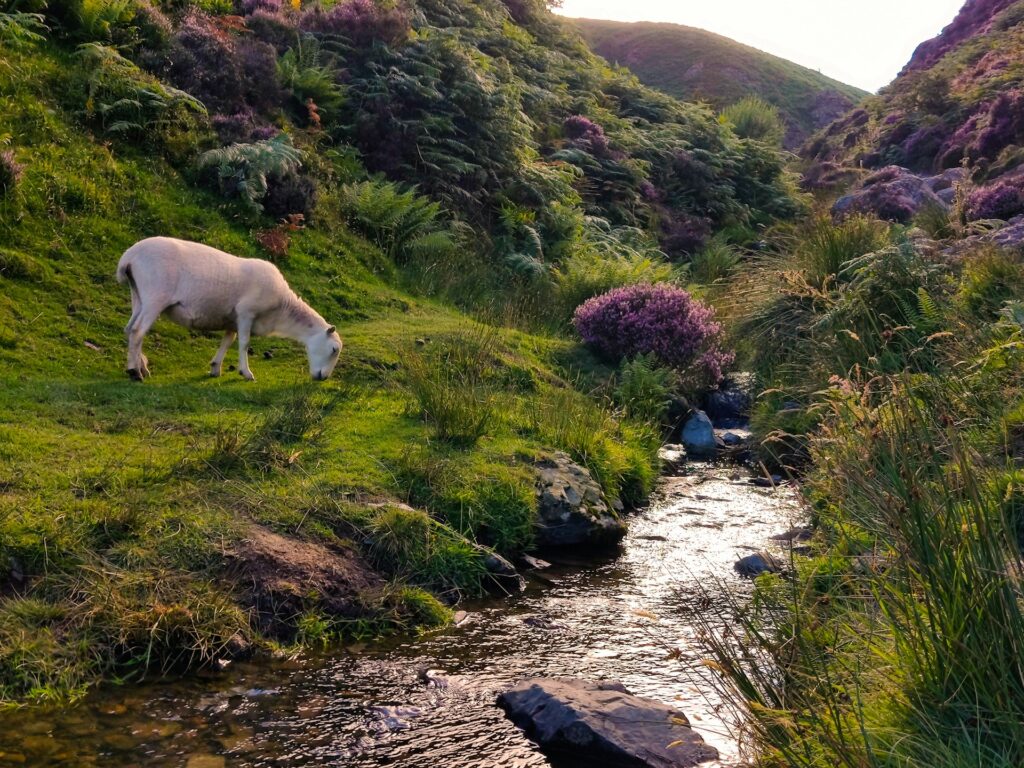
Surface water sources like rivers, streams, lakes, and ponds are the most obvious places to find water in the wilderness, though they vary significantly in quality. Moving water in streams and rivers tends to be safer than stagnant water because the movement helps oxygenate the water and prevents the growth of certain harmful microorganisms. When evaluating a surface water source, look for clear water without obvious contamination like unusual coloration, strong odors, excessive algae growth, or dead animals nearby. Be particularly cautious of water sources downstream from human settlements, agricultural areas, or industrial sites, as these may contain chemical pollutants not easily removed by field purification methods. Even the cleanest-looking surface water can harbor microscopic pathogens, so purification is always necessary before consumption.
Groundwater Extraction Techniques
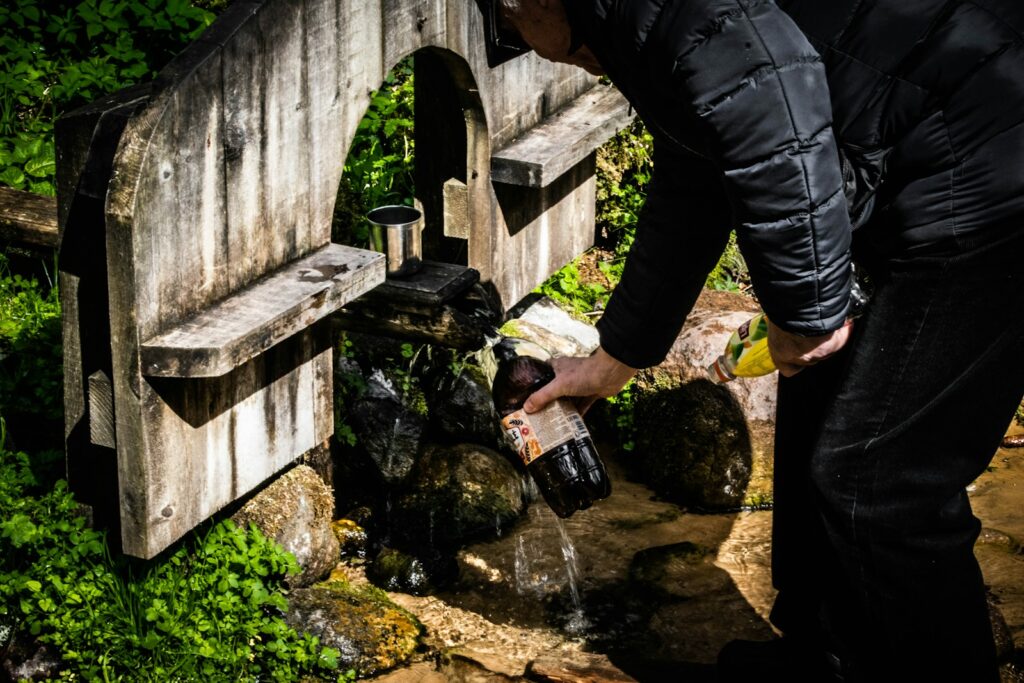
Groundwater is often cleaner than surface water because soil acts as a natural filter. Digging a seep well near (but not directly in) existing water sources can yield clearer water with fewer contaminants. To create a seep well, dig a hole about one foot wide and two feet deep approximately 5-10 feet away from the edge of a water source; line the hole with rocks if possible, then wait for water to seep in, which may take several hours. Natural springs offer another excellent groundwater source, usually providing clean water that requires minimal treatment, though purification is still recommended. In dry environments, dry riverbeds often retain water beneath the surface; digging in the lowest point of the riverbed or in the outside bend of a curve where water would naturally scour deeper can reveal this hidden resource. Remember that groundwater extraction requires significant patience, as water often seeps in slowly.
Collecting Water from Plants
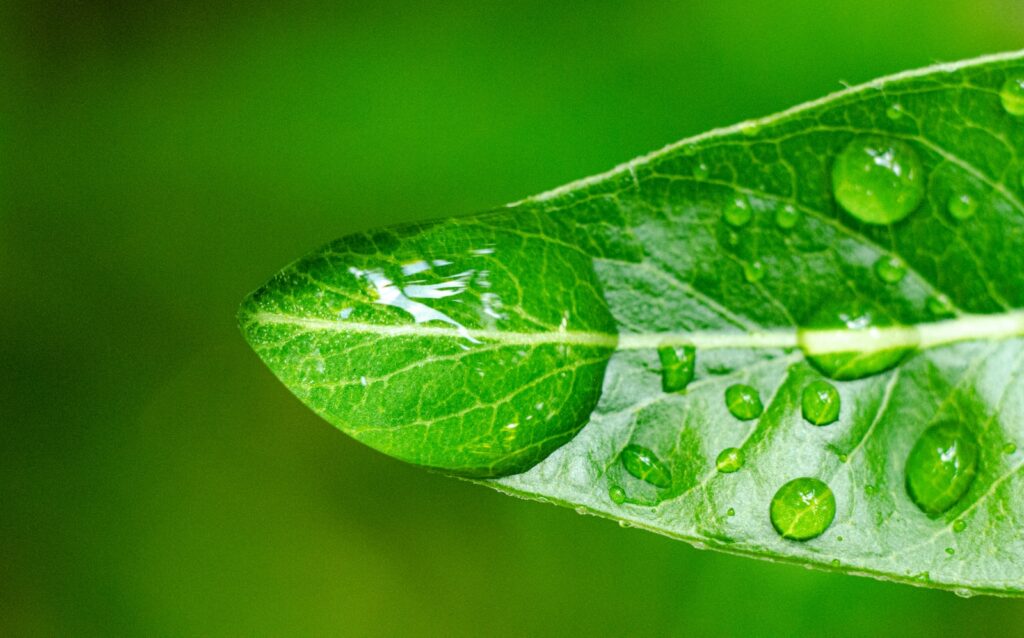
Various plants can serve as natural water reservoirs in wilderness settings. Collecting morning dew from large leaves by carefully wiping them with a clean cloth and wringing the moisture into a container can yield surprising amounts of relatively clean water. Some plants, like vines, can be cut to release stored water – look for woody vines with a diameter of at least 5 centimeters, make a notch high up, then cut the vine near the ground and collect the flowing water. Certain plants store water in their structures; for example, barrel cacti in desert environments contain a watery pulp that can be extracted (though it may cause digestive discomfort), while water can collect in the leaf junctions of plants like bromeliads in tropical environments. Remember to positively identify any plant before harvesting water from it, as some species contain toxic compounds that can contaminate the water.
Solar Water Collection Methods

Solar stills utilize evaporation and condensation principles to produce clean water and can be lifesavers in arid environments. To create a basic solar still, dig a hole approximately 3 feet wide and 2 feet deep, place a container at the bottom center, surround it with green vegetation or moisture-containing materials, cover the hole with clear plastic anchored around the edges with rocks, and place a small stone in the center to create a depression over the collection container. Water evaporates from the soil and vegetation, condenses on the plastic, and drips into the container, providing relatively pure water. Transpiration bags offer another solar collection method by enclosing leafy, non-poisonous tree branches in clear plastic bags and allowing the leaves’ natural transpiration to produce water. These methods produce limited quantities (often less than a liter per day) but can supplement other water sources in survival situations.
Rainwater Collection Strategies
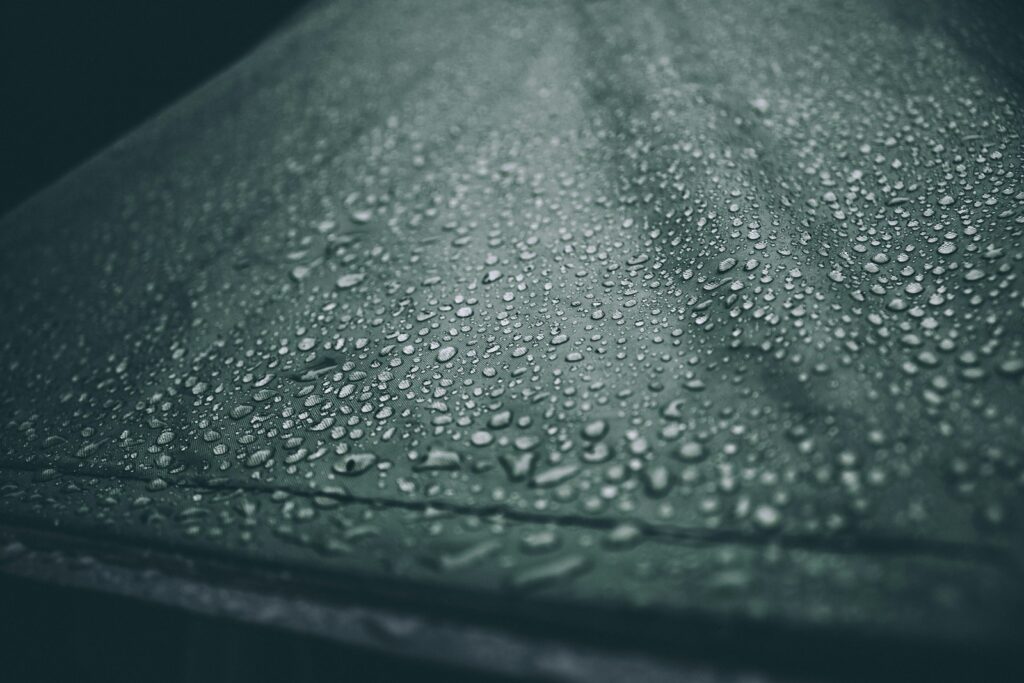
Rainwater provides one of the cleanest natural water sources, requiring minimal treatment if collected properly. When precipitation begins, set up collection containers like tarps, ponchos, or other waterproof materials with depressions to funnel water into bottles or containers. Tree trunk systems can also effectively collect rainwater as it runs down the trunk; create a channel using bark or other materials to direct this flow into your container. In rocky areas, natural depressions in rocks can collect significant amounts of rainwater that remains relatively clean for days after precipitation. When collecting rainwater, be aware that the first few minutes of rainfall may wash contaminants from the air and collection surfaces, so consider discarding this initial collection or using it for purposes other than drinking. Stored rainwater should still be treated before consumption unless you’re absolutely certain of its purity.
Snow and Ice as Water Sources

In cold environments, snow and ice provide readily available water sources, though they must be properly processed before consumption. Never eat snow or ice directly, as this lowers your core body temperature and can lead to hypothermia; instead, always melt it first. When collecting snow, seek clean, freshly fallen snow away from trees where bird droppings might contaminate it, and avoid discolored snow which may contain pollutants or algae. Melting snow is surprisingly fuel-intensive – it takes approximately one liter of liquid water to melt ten liters of snow – so in survival situations, place snow in a water bottle and carry it inside your clothing to use body heat for melting. Ice generally provides more water by volume than snow, making it a more efficient water source, and clear ice typically has fewer impurities than cloudy ice.
Boiling: The Gold Standard for Purification

Boiling remains the most reliable method for purifying water in wilderness situations because it effectively kills bacteria, viruses, and parasites without requiring specialized equipment. To properly purify water through boiling, bring it to a rolling boil and maintain this state for at least one minute at sea level, adding one additional minute for every 1,000 feet above sea level due to the lower boiling temperature at higher elevations. Contrary to common belief, longer boiling times don’t make water safer and only waste precious fuel. While boiling kills biological pathogens, it doesn’t remove chemical contaminants, heavy metals, or improve the taste of water – for better-tasting boiled water, allow it to cool and then aerate it by pouring it between two containers several times. In emergency situations without containers suitable for boiling, hot rocks can be heated in a fire and carefully added to water in a natural depression or improvised container.
Chemical Purification Methods

Chemical treatments offer a lightweight alternative to boiling for water purification in the wilderness. Iodine tablets or liquid are effective against most pathogens when used correctly – typically one tablet or a few drops per liter of water with a waiting period of 30 minutes (longer in cold water). Chlorine dioxide treatments have become increasingly popular because they’re effective against a broader spectrum of pathogens including Cryptosporidium (which iodine doesn’t kill effectively), have less taste impact, and don’t present the thyroid concerns associated with iodine. Household bleach containing 5-6% sodium hypochlorite can serve as an emergency purifier using 2 drops per liter of clear water or 4 drops for cloudy water, followed by a 30-minute waiting period. Remember that chemical purification effectiveness decreases in cold or murky water, so pre-filtering and warming water when possible improves results.
Filtration Options in the Wild
Water filtration removes contaminants by passing water through material with tiny pores that trap particles, bacteria, and in some cases, viruses. Commercial portable water filters vary widely in capability, with most wilderness models effectively removing bacteria and protozoa but not viruses due to their extremely small size. In improvised situations, you can create basic filters using natural materials layered in a container – fine sand, charcoal from your campfire (which helps remove some chemicals and improves taste), coarse sand, and gravel, arranged from finest to coarsest from bottom to top. Cloth filtration, using materials like a bandana or t-shirt, serves primarily to remove larger particles and should be considered a pre-treatment rather than complete purification. For wilderness travel, commercial filters with pore sizes of 0.2 microns or smaller offer the best protection, though combining filtration with chemical or UV treatment provides the most comprehensive protection against waterborne pathogens.
Recognizing and Avoiding Contaminated Sources
Identifying potentially dangerous water sources is crucial for wilderness survival. Avoid water with obvious signs of contamination including unnatural colors (especially green, brown, or rust-colored water), unusual odors, surface scum or foam, or excessive algae growth which may indicate harmful algal blooms that produce dangerous toxins. Water sources near human activities present particular risks – avoid collecting water downstream from mining operations (potential heavy metals), agricultural areas (pesticides and fertilizers), or industrial sites (chemical contamination). Animal carcasses near water indicate possible bacterial contamination, while large numbers of dead fish or insects in water suggest toxic conditions. Even natural contamination occurs – water with extremely high mineral content may cause digestive distress, while some natural springs contain dangerous levels of arsenic or other minerals. When uncertain about a water source, seek alternatives or use multiple purification methods in combination.
Emergency Water Situations

In dire emergency situations when no clean water sources are available and dehydration threatens survival, difficult decisions about consumption of questionable water may become necessary. If forced to drink from suspicious sources, maximize your protection by combining all available purification methods – filter the water through improvised materials, boil it if possible, and add chemical treatment if available. Morning dew collected from non-toxic plants generally contains minimal pathogens and can provide emergency hydration with relatively low risk. Water from desert succulents, while often bitter and potentially causing digestive discomfort, can sustain life temporarily. The fluid found in a fish’s spine and eyes contains safe moisture in coastal survival scenarios. Remember that even bodily fluids like urine, while often mentioned in survival lore, provide no hydration benefit and can actually worsen dehydration by requiring additional water for the body to process the waste products they contain.
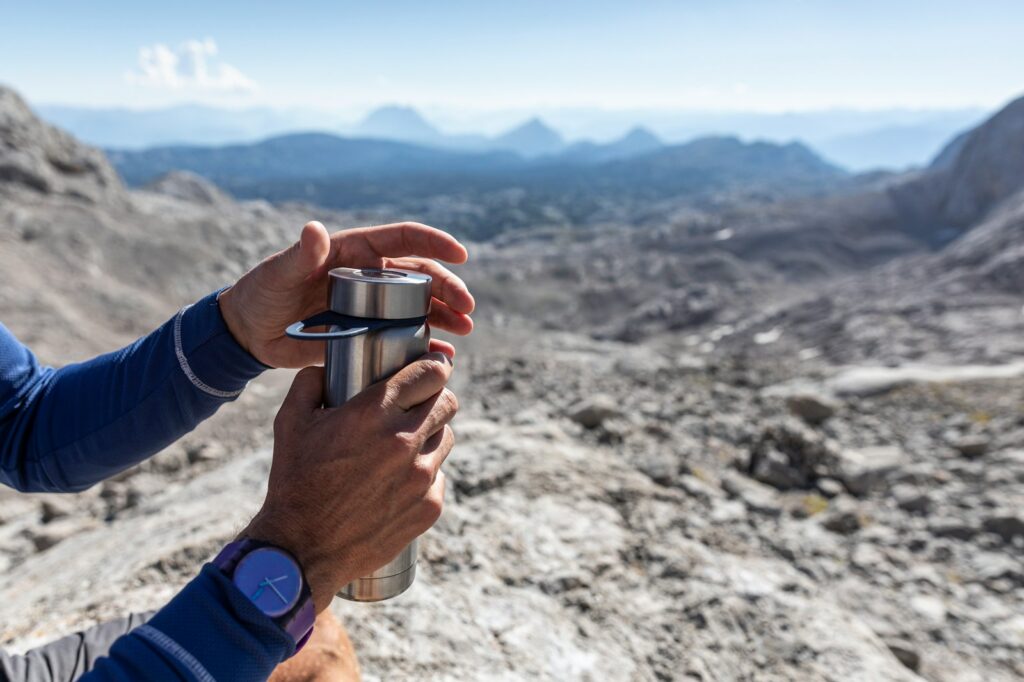
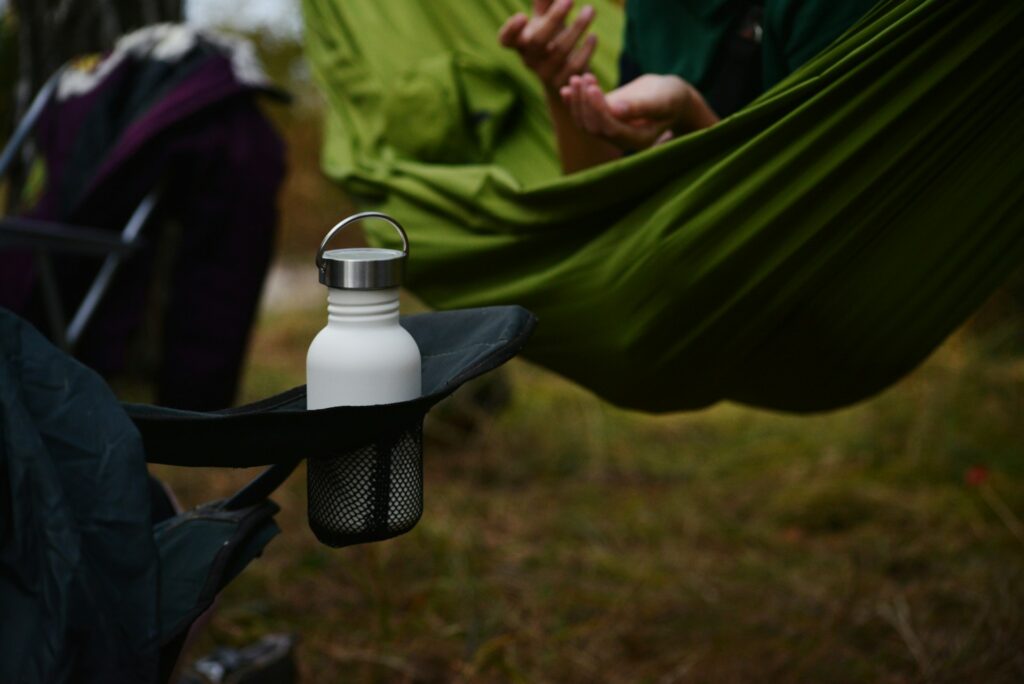
Packing for Water Self-Sufficiency

Proper preparation dramatically increases your water security in wilderness situations. When planning any wilderness excursion, carry at least two water containers with a combined capacity of 2-3 liters per person, and research water availability along your intended route beforehand. Include multiple purification methods in your kit – combination approaches provide redundancy and address different threats, such as pairing a filter (for protozoa and bacteria) with chemical treatment (for viruses). Collapsible water containers add significant capacity with minimal weight penalty when you encounter abundant water sources. A metal container suitable for boiling water serves dual purposes for cooking and emergency purification. Consider including water-finding tools like a topographic map marking springs and water sources, or lightweight devices like condensation collectors for arid environments. By preparing thoroughly and understanding your environment, you transform water from a survival concern into a manageable resource.
In the unpredictable realm of wilderness survival, your ability to find and purify water remains one of your most valuable skills. The techniques outlined in this guide—from recognizing natural water indicators to implementing various collection and purification methods—provide a foundation for water self-sufficiency in wild settings. Remember that multiple barriers of protection through combined purification methods offer the best security against waterborne illness. While these skills can save lives in emergency situations, they also connect us to our ancestors’ understanding of the landscape and foster a deeper appreciation for the precious resource we often take for granted. As you venture into wild spaces, practice these techniques in low-risk settings before they’re needed in genuine emergencies. Water wisdom isn’t just survival knowledge—it’s a fundamental connection to the environments we explore and the natural systems that sustain all life.