
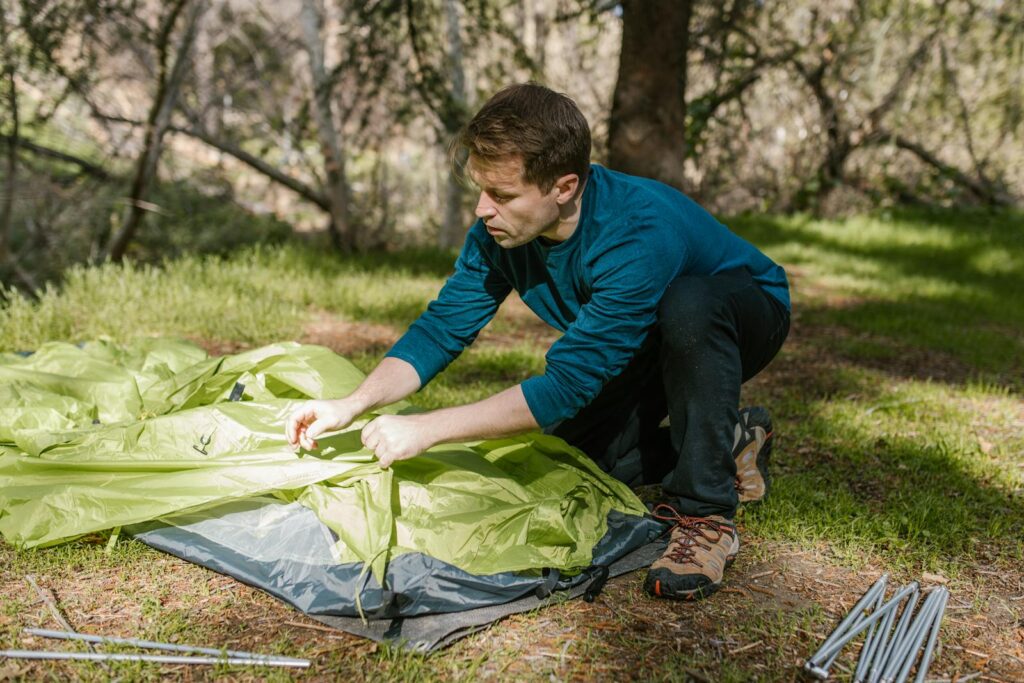
In the wilderness, a reliable shelter can mean the difference between a manageable outdoor experience and a life-threatening situation. While modern camping gear offers convenience, knowing how to build a shelter using only natural materials and basic tools is an essential survival skill everyone should master. Whether you’re caught in an unexpected overnight situation, planning a minimalist backpacking trip, or simply wanting to connect more deeply with nature, these shelter-building techniques can provide protection from the elements when you don’t have a tent.
This guide will walk you through the fundamentals of emergency shelter construction, from site selection to specific designs suited for different environments and weather conditions.
Understanding Shelter Priorities

When building a survival shelter, it’s crucial to understand that your primary goal is protection from the elements that pose the greatest immediate threat. In most survival situations, exposure to cold, rain, wind, or excessive heat can be more dangerous than hunger or thirst. Your shelter should first address the most pressing environmental challenge—keeping you dry in rainy conditions, warm in cold weather, shaded in extreme heat, or protected from wind. The basic purpose of any survival shelter is to maintain your core body temperature within a safe range, which means blocking precipitation, insulating against temperature extremes, and creating a barrier against wind.
Remember that even in seemingly mild conditions, nighttime temperature drops or unexpected weather changes can quickly create dangerous situations if you’re unprepared.
Essential Shelter Building Tools

While true survival shelters can be built with bare hands, having a few basic tools dramatically increases your efficiency and the quality of your shelter. A fixed-blade knife or multi-tool serves as the most versatile shelter-building implement, allowing you to cut branches, strip bark, and fashion other materials. Paracord or strong rope (at least 50 feet) provides lashing material to secure structural elements together without relying solely on natural cordage. A compact folding saw or hatchet, while optional, can save tremendous energy when processing larger branches for framework construction.
Many experienced outdoorspeople also carry a lightweight tarp or emergency blanket which can serve as waterproof roofing or groundcover, significantly enhancing a natural shelter’s effectiveness while requiring minimal additional weight in your pack. Even without specialized equipment, improvisational tools like sharp stones can substitute for cutting implements in true emergency situations.
Selecting the Ideal Shelter Location
The location of your shelter can be as important as its construction, and several key factors should influence your site selection. First, assess the area for natural hazards including dead standing trees (widow-makers), flash flood zones near water bodies, rock fall areas, or animal trails. Look for relatively flat, slightly elevated ground that will remain dry even if rain occurs, avoiding natural depressions where water collects. Consider natural features that can be incorporated into your shelter design, such as rock walls, fallen trees, or dense thickets that provide built-in structural elements or windbreaks.
Proximity to resources matters—you’ll want reasonable access to water sources, but typically not closer than 200 feet to avoid contamination issues and potentially dangerous wildlife encounters during their visits to water. Finally, evaluate the site’s exposure to prevailing winds and position your shelter to minimize direct wind impact while maximizing available natural insulation from surrounding vegetation.
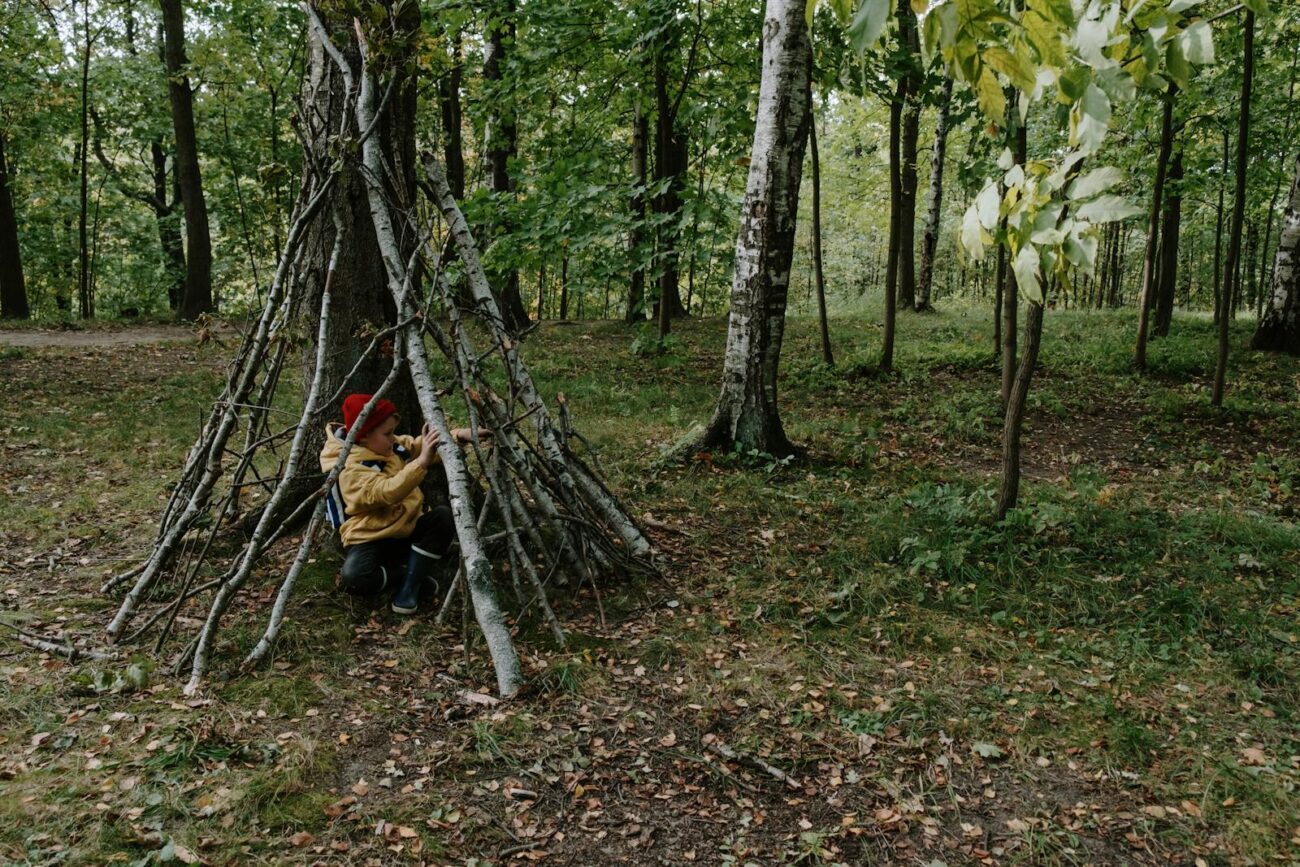
The A-Frame Shelter: Simple and Effective
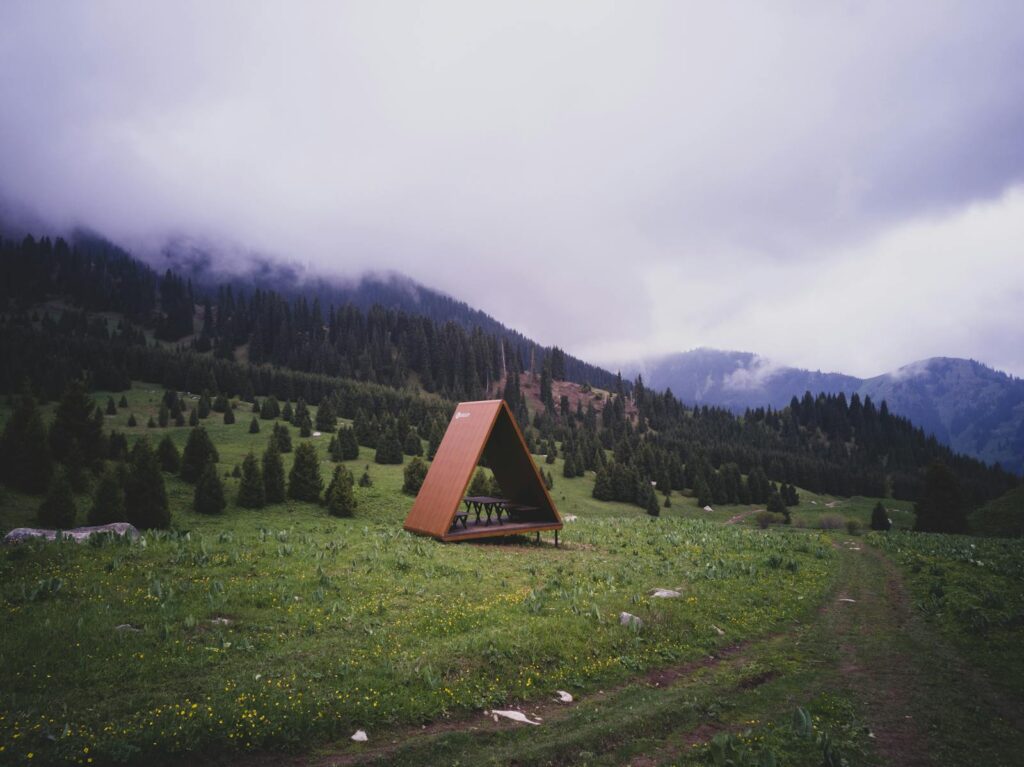
The A-frame shelter represents one of the most fundamental and versatile emergency shelter designs, perfect for beginners due to its structural simplicity and effectiveness. To construct an A-frame, begin by finding a sturdy ridge pole (a long, straight branch) approximately 8-10 feet long and at least 2-3 inches in diameter, which will serve as the backbone of your structure. Position this ridge pole horizontally between two trees, secure it with cordage, or prop one end on the ground and the other on a stump or rock to create a sloped framework.
Next, position numerous smaller branches at 45-degree angles along both sides of the ridge pole, creating the distinctive “A” shape that gives this shelter its name. Cover this framework with layers of vegetation such as pine boughs, leafy branches, or ferns, starting from the bottom and working upward like shingles to encourage water runoff. Properly constructed, an A-frame shelter can provide effective protection from rain, wind, and moderate cold while requiring minimal materials and construction expertise.
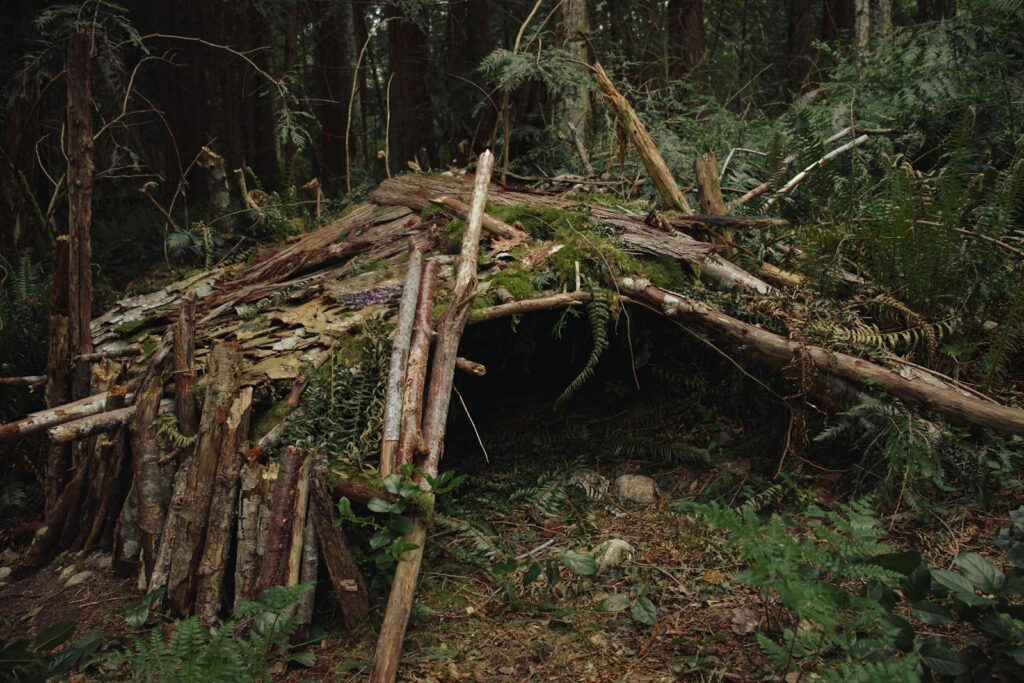
The Debris Hut: Maximum Insulation
The debris hut stands out as perhaps the most effective cold-weather emergency shelter, relying on natural insulating materials rather than complex construction techniques. Begin construction by establishing a ridgepole similar to the A-frame method, but make it shorter (approximately 6-8 feet) and more steeply angled, with one end on the ground and the other elevated about 3-4 feet. Create a ribcage structure by leaning numerous sticks against both sides of the ridgepole, leaving a small opening at the raised end for entry. Once the framework is complete, pile natural debris such as leaves, pine needles, grasses, and moss over the entire structure to a thickness of at least 2-3 feet—this substantial insulation layer is critical for the shelter’s thermal efficiency.
Hollow out a body-sized space inside, being careful to maintain thick insulation above and below your sleeping position, then line the interior with dry leaves or other soft material to create a sleeping surface. The debris hut works by trapping your body heat in a small space while the thick layer of organic material provides remarkable insulation, even in subfreezing conditions.
Lean-To Shelters: Quick and Adaptable

The lean-to shelter represents one of the quickest emergency shelter options, making it ideal for situations where time or energy is limited. To build a basic lean-to, secure a horizontal support pole between two trees at approximately waist to chest height, or prop one end on the ground and support the other end on a tree or rock to create a sloped roof line. Position numerous straight branches at an angle against this support beam, creating a sloped roof structure that should ideally face away from the prevailing wind. Cover this framework with layers of vegetation, bark panels, or a tarp if available, starting from the bottom and working upward to create an overlapping pattern that sheds water effectively.
While lean-tos provide less insulation than enclosed shelters, they can be constructed quickly and offer good protection from wind and precipitation, particularly when built with the open side facing a fire for reflected heat. For improved protection in colder conditions, consider building a reflector wall opposite the open side to bounce fire heat into the shelter space.
Snow Shelters: Winter Survival Essentials
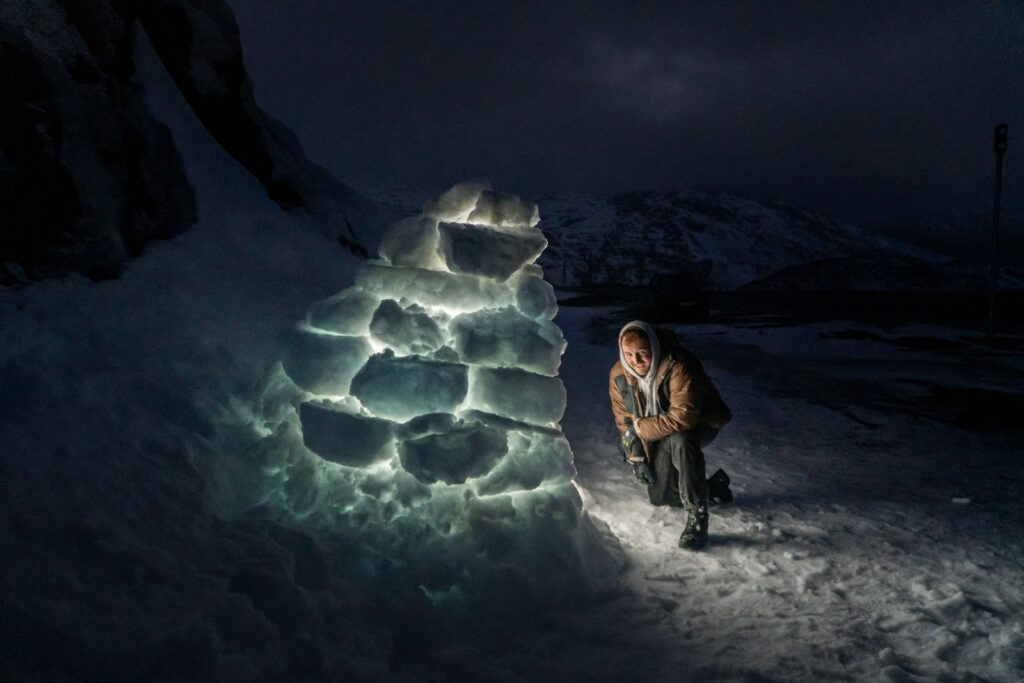
Snow shelters paradoxically provide some of the most effective insulation against extreme cold, utilizing snow’s natural properties as an insulator. The quinzhee, a dome-shaped snow shelter, can be built without specialized tools by first piling snow into a mound approximately 7 feet high and 8 feet in diameter, then allowing it to “sinter” (partially melt and refreeze) for 1-2 hours to increase structural strength. After sintering, dig out an entrance tunnel that curves slightly upward into the mound, then hollow out the interior chamber, leaving walls approximately 12-18 inches thick for structural integrity and insulation.
Insert small sticks through the walls as depth gauges to avoid creating dangerously thin sections during excavation. Alternatively, a snow trench can be dug directly into deep, compacted snow, then roofed with branches covered by more snow for a quicker emergency option. Snow caves dug horizontally into snowbanks or drifts provide another option where sufficient accumulation exists, with the sleeping platform positioned higher than the entrance to trap warm air effectively. Properly constructed snow shelters can maintain interior temperatures remarkably close to freezing (32°F/0°C) even when exterior temperatures plummet far below zero.
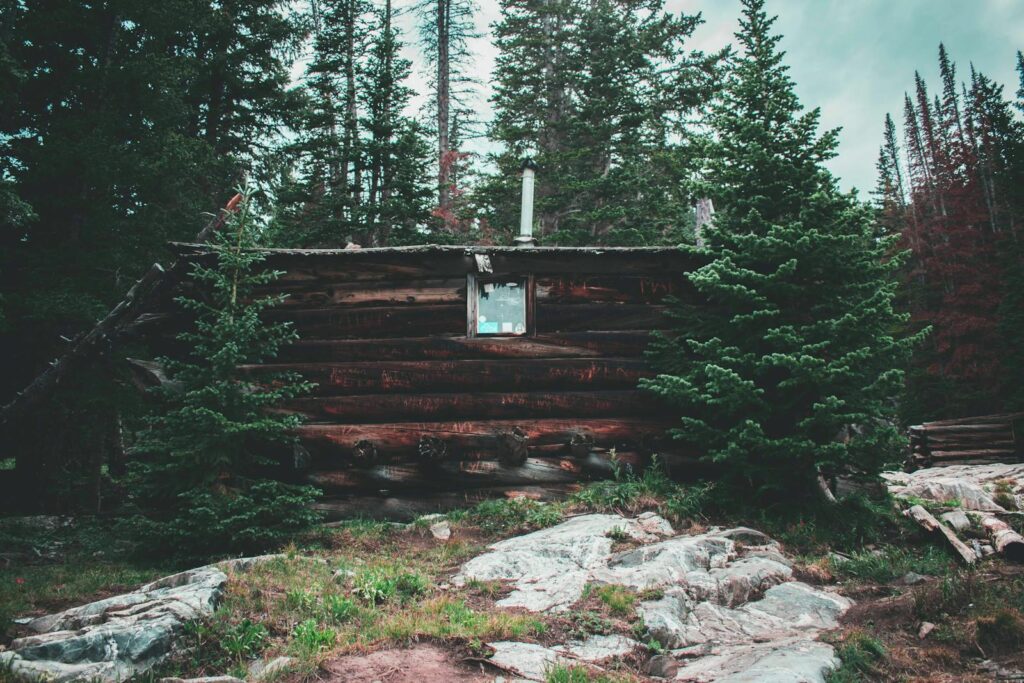
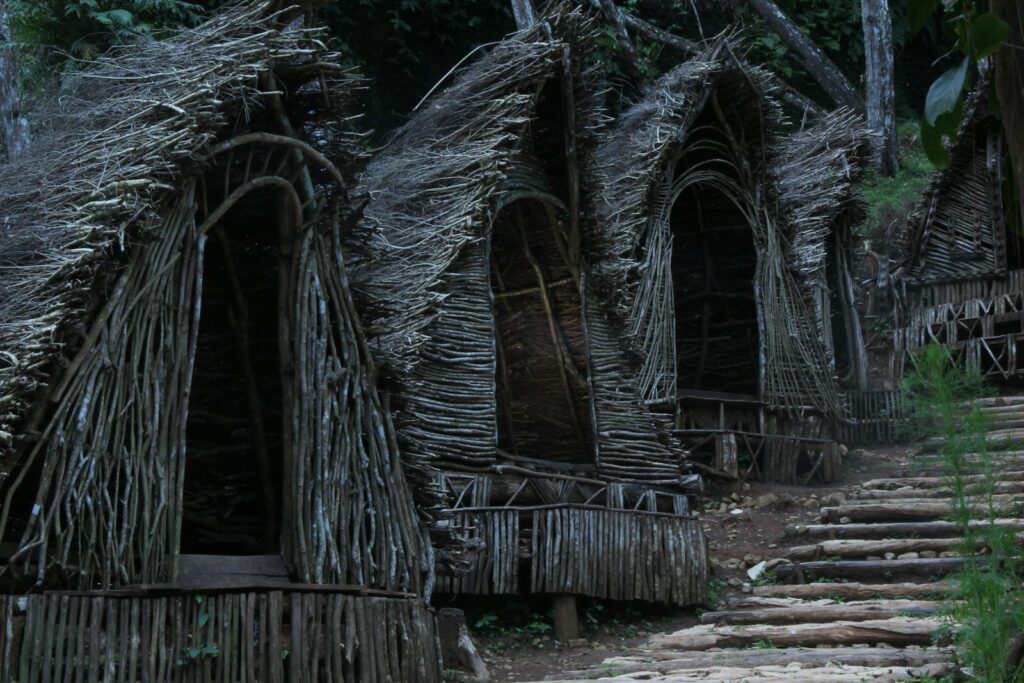
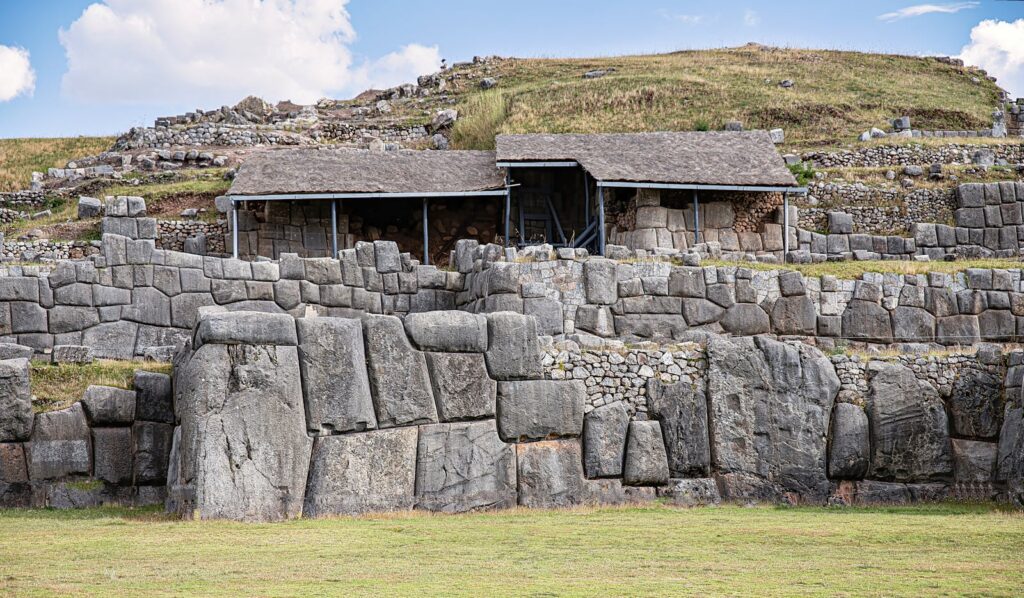
Natural Shelters: Using What Nature Provides

Sometimes the most effective shelter requires minimal construction by utilizing natural features already present in the landscape. Tree well shelters form naturally around the base of coniferous trees where snow has been blocked by the tree’s branches, creating a protective pocket that can be enhanced by adding additional boughs for roofing. Rock overhangs and small caves provide ready-made shelter walls and roofs, though they should be carefully inspected for animal occupation, water seepage, and structural stability before relying on them. Fallen trees, especially those with partially attached root balls or extensive branch structures, can serve as ready-made frameworks for lean-tos or A-frames, significantly reducing construction time and effort.
Dense thickets of vegetation such as rhododendron groves or willow stands can sometimes be modified into effective shelters by hollowing out the center and reinforcing the natural canopy with additional materials. These natural shelters often require less energy to prepare while providing superior protection compared to completely man-made structures, making them ideal options when daylight or energy resources are limited.
Insulation Techniques for Any Shelter
Regardless of shelter design, proper insulation dramatically improves thermal efficiency and comfort in wilderness conditions. Ground insulation represents your first priority, as the earth can conduct body heat away 20 times faster than still air; create a thick bed of dry materials such as grass, leaves, pine needles, or boughs at least 6-8 inches deep when compressed under your body weight. Incorporate dead air spaces whenever possible by layering materials rather than compressing them, as trapped air provides superior insulation compared to densely packed materials.
In cold environments, reduce the shelter’s interior volume to the minimum necessary size, as smaller spaces heat more efficiently from body warmth alone. Natural materials vary significantly in their insulative properties—conifer boughs, dry leaves, and grass provide excellent insulation, while green vegetation generally performs poorly and can introduce unwanted moisture. For maximum warmth in cold conditions, consider building a small, carefully positioned fire reflector opposite your shelter entrance to direct radiant heat inward, effectively creating a heat envelope around your sleeping area.
Waterproofing Your Wilderness Shelter

Even the most well-insulated shelter fails if it cannot keep you dry, making waterproofing techniques essential for effective shelter building. When using natural materials, create a layered, shingle-like arrangement of roofing materials, where each piece overlaps the one below it by at least one-third to encourage water runoff without penetration. Birch bark sheets provide exceptional natural waterproofing when available, as do large leaves such as maple or palm fronds in appropriate environments. Incorporate a 45-degree minimum roof angle whenever possible to promote water shedding, as flatter roofs invariably develop leaks during extended precipitation.
Create drainage channels around your shelter’s perimeter to direct water away from the structure and prevent pooling, particularly important when building on relatively flat ground. When using natural materials exclusively, increase your roof thickness to at least 6-8 inches of compressed material, understanding that some moisture penetration is inevitable during heavy or prolonged rainfall without manufactured materials like tarps or ponchos as a waterproof outer layer.
Fire Safety and Shelter Integration

Integrating fire with your shelter can dramatically increase comfort and survival chances in cold conditions, but requires careful planning to avoid disaster. For open-sided shelters like lean-tos, position your fire approximately 3-4 feet from the shelter opening, allowing sufficient distance to prevent sparks from igniting shelter materials while maintaining effective heat reflection. When building more enclosed shelters, consider incorporating a cold-air trench at the entrance that allows heavier cold air to flow outward while trapping warmer air inside.
If incorporating an internal fire in larger shelters like wickiups or earth lodges, create a proper smoke hole directly above the fire pit and line the fire area with stones or a ring of soil to prevent accidental ignition of floor materials. Never sleep in a completely sealed shelter with an active fire due to carbon monoxide risks; maintain adequate ventilation even in extremely cold conditions. The safest configuration for most beginners is an external fire with a reflector wall positioned to direct heat into the shelter opening, providing warmth without the hazards associated with internal fires.
Survival Shelters for Different Environments
Different environments demand specialized shelter approaches to address their unique challenges effectively. In humid tropical environments, elevating your shelter off the ground becomes priority to avoid insects, snakes, and ground moisture; consider platforms lashed between trees with lightweight roofing for airflow and rain protection. Desert conditions require shelters that provide shade during day while retaining warmth at night; shallow pit shelters covered with a light-colored tarp or natural materials can effectively moderate temperature extremes.
Coastal environments introduce concerns about tides, salt spray, and high winds; position shelters behind dunes or natural windbreaks while ensuring you’re well above high tide lines. Alpine environments above treeline present extreme challenges with high winds and minimal building materials; rock walls combined with low-profile designs help create survivable spaces in these harsh conditions. Understanding the specific environmental threats in your location allows you to prioritize the most critical shelter features, whether that’s insulation, ventilation, wind resistance, or elevation from ground hazards.
Improving Comfort in Primitive Shelters
While basic survival shelters meet essential needs for protection from the elements, several refinements can dramatically improve comfort during extended use. Creating a raised sleeping platform of interwoven branches elevated 4-6 inches above ground level improves insulation and comfort while reducing exposure to ground moisture and crawling insects. Incorporating a reflective wall of stone or green logs opposite your shelter’s opening effectively doubles the heat output from your fire through radiation, significantly improving thermal comfort in cold conditions.
For longer-term shelters, consider adding ventilation features that can be adjusted—small openings near the top of the structure allow humid air and smoke to escape while maintaining overall warmth. Natural cordage made from inner bark fibers, plant stems, or roots provides lashing material to improve structural integrity beyond simple leaning construction methods. These comfort improvements require minimal additional materials while significantly enhancing your shelter’s livability, particularly important when weather conditions prevent travel and necessitate extended shelter occupation.
Practice Makes Perfect: Developing Your Skills

Shelter building is fundamentally a skill that improves with practice, and the time to learn is before you face an actual emergency situation. Begin by practicing basic shelter types in controlled conditions—perhaps in your backyard or during planned camping trips where you have backup options available if your shelter proves inadequate. Time yourself during construction to develop efficiency, aiming to complete emergency shelters within 1-2 hours before darkness or deteriorating weather becomes problematic. Experiment with different natural materials to understand their properties—how well various leaves shed water, which branches are flexible enough for framework construction, and which materials provide the best insulation.
Consider challenging yourself with progressive limitations, perhaps first building with a full set of tools, then with just a knife, and finally with no modern tools at all. Each practice session builds muscle memory and problem-solving skills that become invaluable during actual emergency situations when stress and urgency might otherwise impair your performance.
Conclusion

In a world where technological solutions dominate our approach to outdoor challenges, the fundamental skill of shelter building connects us to our ancestors while providing practical self-reliance in unexpected situations. The shelters described in this guide have protected humans for thousands of years across every environment on earth, using materials freely available in nature. By mastering these techniques through practice and understanding the principles behind them, you transform potential survival emergencies into manageable challenges. Remember that in true survival situations, function always trumps form—an ugly shelter that keeps you warm and dry succeeds where a beautiful but ineffective one fails. Carry these skills into the wilderness as your most reliable emergency equipment—knowledge that weighs nothing yet provides essential protection when modern conveniences are unavailable.