
Heading into the great outdoors for a hike is an exhilarating experience, but it can quickly turn stressful or even dangerous if you’re unable to navigate the trail system effectively. Understanding how to read trail maps and interpret markers is a fundamental outdoor skill that empowers hikers to explore with confidence while minimizing the risk of getting lost. This comprehensive guide will walk you through everything you need to know about trail navigation as a beginner, from basic map symbols to recognizing trail blazes in the field. With these skills in your backpack, you’ll be prepared to venture further, discover more, and return safely from your wilderness adventures.
Understanding Different Types of Trail Maps

Trail maps come in various formats, each serving different purposes for outdoor enthusiasts. Topographic maps show elevation changes through contour lines, allowing hikers to understand the terrain’s steepness and physical features. Park-issued trail maps typically highlight established paths, points of interest, and facilities but may simplify topographical details. Digital trail maps on smartphones or GPS devices offer real-time location tracking and often include user-submitted information about trail conditions. Water-resistant printed maps remain essential backup tools even for tech-savvy hikers, as electronic devices can fail due to battery issues, damage, or lack of reception in remote areas.
Decoding Map Legends and Symbols

The legend is your translation guide to the map’s visual language, turning abstract symbols into meaningful information. Common symbols include dotted or solid lines of different colors indicating trail types (hiking, biking, equestrian) and difficulty levels. Triangles or tent icons typically represent campsites, while picnic tables, restrooms, and water sources have their distinct symbols. Parking areas, trailheads, and visitor centers are usually prominently marked to help with trip planning and orientation. Learning to quickly reference the legend while reading the map is a skill that develops with practice and dramatically improves navigation efficiency.
Interpreting Contour Lines

Contour lines represent one of the most important yet challenging aspects of map reading for beginners. These lines connect points of equal elevation, with the spacing between lines indicating the steepness of terrain—closely packed lines signal steep slopes, while widely spaced lines indicate gentler grades. The contour interval, typically noted in the map legend, tells you the vertical distance between consecutive lines (often 40, 80, or 100 feet). Concentric circles usually indicate hills or peaks, while V-shaped patterns pointing uphill mark valleys or drainages. Understanding contour patterns helps hikers anticipate physically demanding sections and choose routes appropriate for their ability level.
Trail Difficulty Ratings Explained

Many trail systems use standardized difficulty classifications to help hikers select appropriate routes for their experience and fitness levels. Easy trails (often marked green) feature relatively flat terrain with minimal obstacles, making them suitable for beginners, families with young children, and casual walkers. Moderate trails (typically blue) include some elevation changes, occasional obstacles, and may require basic navigation skills. Difficult trails (usually black) involve significant elevation gain, challenging terrain features, and demand advanced stamina and hiking experience. Some maps include additional information about trail length, typical completion time, and specific hazards, providing a more comprehensive picture of what to expect on the trail.
Recognizing Trail Blazes and Markers

Trail blazes are the visual markers painted or placed along paths to guide hikers and confirm they’re on the correct route. The most common blazes are painted rectangles on trees, rocks, or posts, with colors that correspond to specific trails indicated on the map. Stacked blazes communicate upcoming directional changes: two blazes with the top one offset to the right or left indicate an imminent turn in that direction. In open areas without trees, cairns (stacked rock piles) often serve as trail markers, particularly in alpine regions above the treeline. National trail systems like the Appalachian Trail have distinctive blazing patterns—the AT uses white rectangular blazes, while connecting trails use blue or other colors.
Understanding Scale and Distance

A map’s scale tells you the relationship between distances on the map and real-world distances, typically shown as a ratio like 1:24,000 (where one inch equals 24,000 inches or 2,000 feet). Most hiking maps include a scale bar allowing quick visual estimation of distances between points without calculations. When planning, remember that map distances represent straight-line measurements, while actual trail distances are longer due to switchbacks, elevation changes, and natural obstacles. Experienced hikers often add 25-50% to mapped distances when estimating hiking time, especially in mountainous terrain where elevation gain significantly impacts travel speed.
Navigating Trail Intersections

Trail intersections can be particularly confusing points where navigation errors commonly occur. When approaching an intersection, stop completely and consciously orient yourself using your map before proceeding. Look for intersection markers, which often include trail names, destinations, and distances to help confirm your location. Some trail systems use numbered junction markers that correspond to locations on the map, making it easier to track progress. Taking a moment to verify your intended direction at each intersection dramatically reduces the likelihood of taking a wrong turn and potentially adding unwanted miles to your journey.
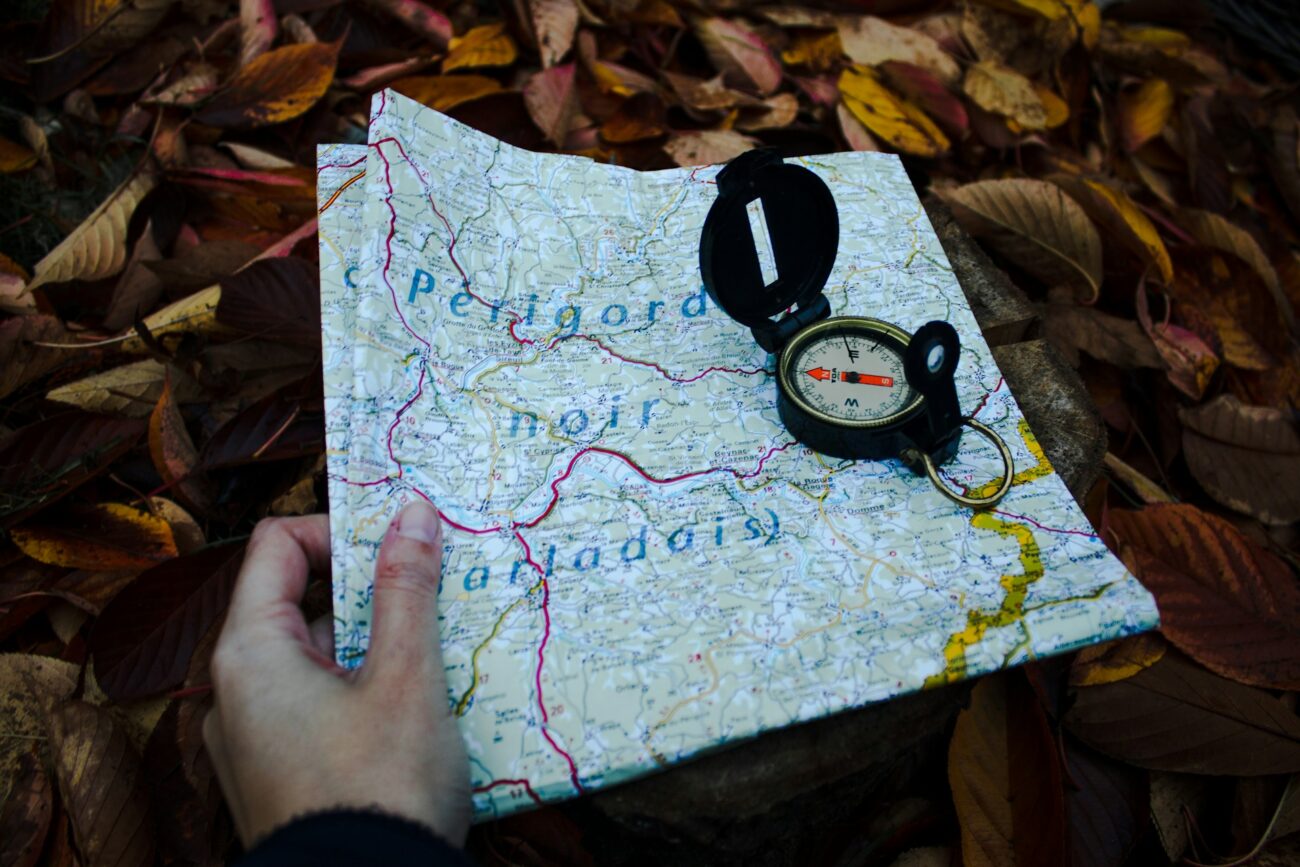
Using Compass Bearings with Trail Maps

A compass remains one of the most reliable navigation tools, even in our digital age. Most quality trail maps include declination information—the difference between magnetic north and true north—which varies by geographic location and must be accounted for when taking bearings. To orient your map using a compass, place the compass on the map with its edge along a north-south grid line, then rotate the map until the compass needle aligns with these lines. Taking a bearing to visible landmarks can help confirm your position through triangulation, a technique where multiple bearings intersect at your location. Basic compass skills provide a critical backup when visibility is poor or electronic navigation fails.
Reading Water Features and Crossings

Water features appear as blue lines or shapes on most maps, with streams, rivers, and lakes being critical navigational references and potential obstacles. Single blue lines typically represent seasonal or smaller streams, while thicker blue lines indicate larger, perennial waterways that may require significant crossing strategies. Dashed blue lines often indicate intermittent streams that may be dry depending on the season or recent rainfall. Maps usually indicate established water crossings such as bridges or fords, though conditions at these points can change due to weather events. Water features also serve as helpful landmarks for confirming your location, as their distinctive shapes and directions are easily matched between map and terrain.
Digital Trail Navigation Tools

Modern hikers increasingly supplement traditional navigation with digital tools that offer enhanced features. Apps like AllTrails, Gaia GPS, and Avenza Maps allow users to download trail maps for offline use and track their real-time location even without cell service. Many digital platforms include crowdsourced information about trail conditions, closures, and points of interest not found on official maps. GPS devices designed specifically for outdoor recreation provide longer battery life and greater durability than smartphones. Despite these technological advantages, experts strongly recommend carrying physical maps as backups and developing the skills to use them effectively, as electronic devices remain vulnerable to environmental factors and battery limitations.
Elevation Profiles and Planning Rest Stops

Elevation profiles visualize the vertical challenges of a trail by showing how elevation changes over distance, typically as a simple graph. These profiles help hikers identify the steepest sections, plan appropriate breaks, and estimate hiking times more accurately than distance alone would allow. When examining an elevation profile, look for sustained steep sections that will require more energy and potentially slower progress. Strategic rest stops before challenging climbs help conserve energy and improve overall hiking efficiency. Many experienced hikers plan longer breaks at viewpoints or interesting features shown on the map, combining practical recovery time with the scenic rewards that make hiking worthwhile.
Emergency Navigation When Lost

Even with proper preparation, disorientation can happen to anyone in the wilderness. If you suspect you’ve lost the trail, the first rule is to stop immediately—continuing to walk while confused often compounds the problem and takes you further from known points. Consult your map and attempt to identify your last known position and nearby landmarks that might help reorient you. Large landscape features like ridgelines, valleys, or water sources can provide crucial navigational references. If truly lost, remember the STOP acronym: Stop, Think, Observe, and Plan, rather than panicking or making impulsive decisions. Following water downhill will eventually lead to civilization in many regions, though this strategy must be applied cautiously depending on terrain and conditions.
Practicing Map Skills Before Your Hike

Developing comfort with map reading requires practice, ideally beginning before you’re relying on these skills in potentially challenging situations. Start by studying maps of familiar areas, comparing the symbols and representations to places you already know. Local parks with well-marked trails provide excellent training grounds for beginners to practice matching map features to real-world observations. Participating in organized orienteering events offers structured opportunities to improve navigation skills with varying levels of difficulty. Creating simple navigation challenges for yourself, like finding specific features without using established trails, builds confidence and competence that transfers to more remote wilderness experiences.
Creating Your Own Trail Notes

Personalizing maps with your own observations enhances their usefulness and helps develop deeper map reading skills. Before setting out, mark potential rest spots, water sources, and viewpoints directly on your map to create a customized hiking plan. During the hike, note any discrepancies between the map and actual conditions, such as trail relocations or changes to water availability. Recording time stamps at key points helps develop a personal sense of pace that improves future trip planning. These annotated maps become valuable references for future hikes and can be shared with others to enhance their experiences as well.
Conclusion

Navigating trails confidently opens up a world of outdoor exploration possibilities that might otherwise remain inaccessible. The skills outlined in this guide—from understanding map symbols and contour lines to recognizing trail blazes and using digital tools—form the foundation of safe, enjoyable hiking experiences. As with any outdoor skill, proficiency comes through practice and application in progressively more challenging environments. Start with well-marked trails in familiar areas, gradually building confidence before tackling more remote routes. Remember that even experienced hikers occasionally become temporarily disoriented; the difference lies in having the tools and knowledge to recover quickly and safely. By investing time in developing these fundamental navigation skills, you’ll gain not just practical outdoor abilities but also the confidence to venture further into the natural world’s wonders.