
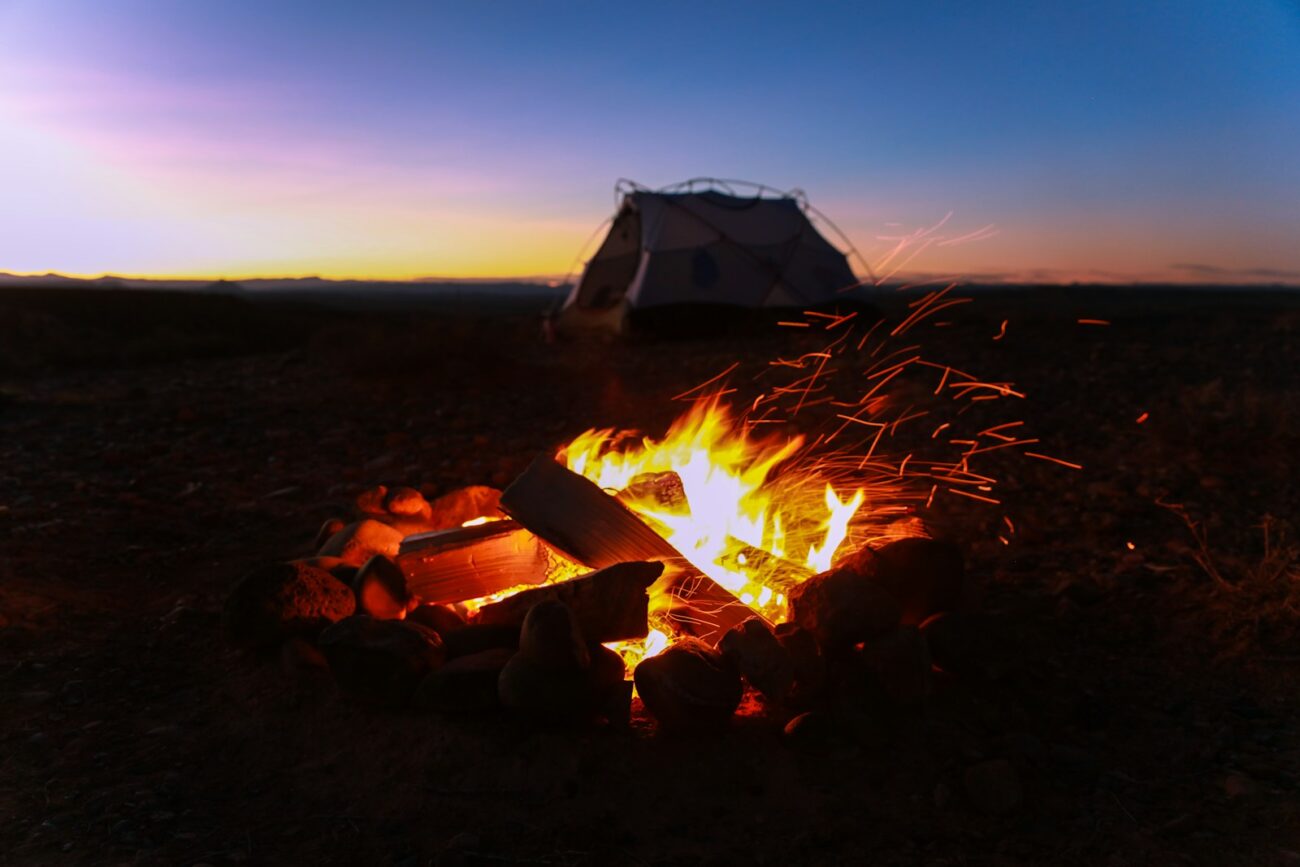
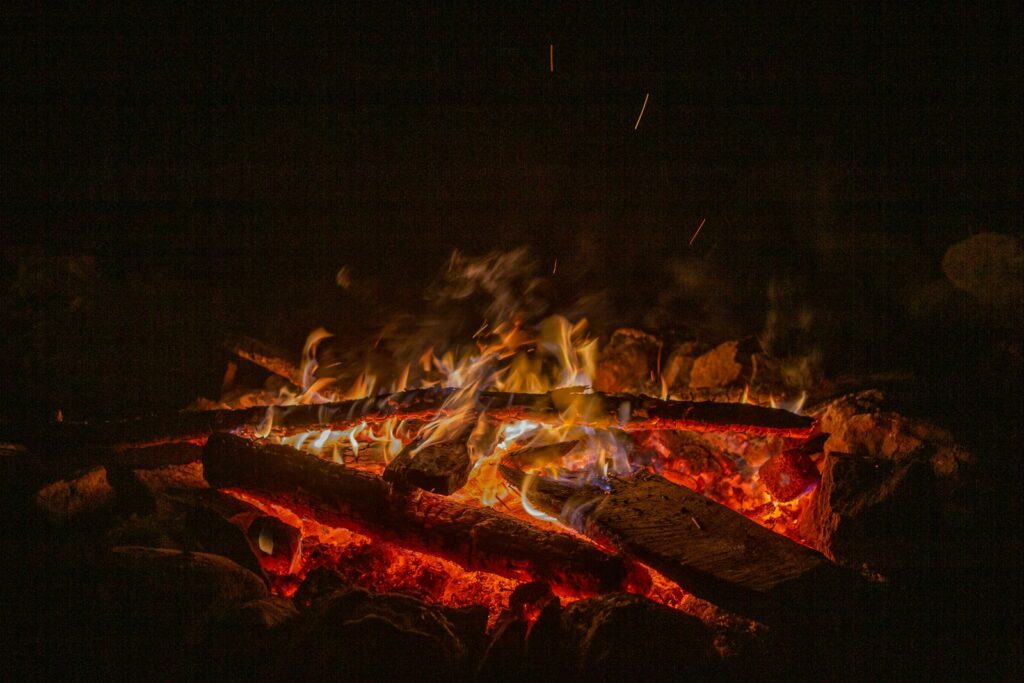
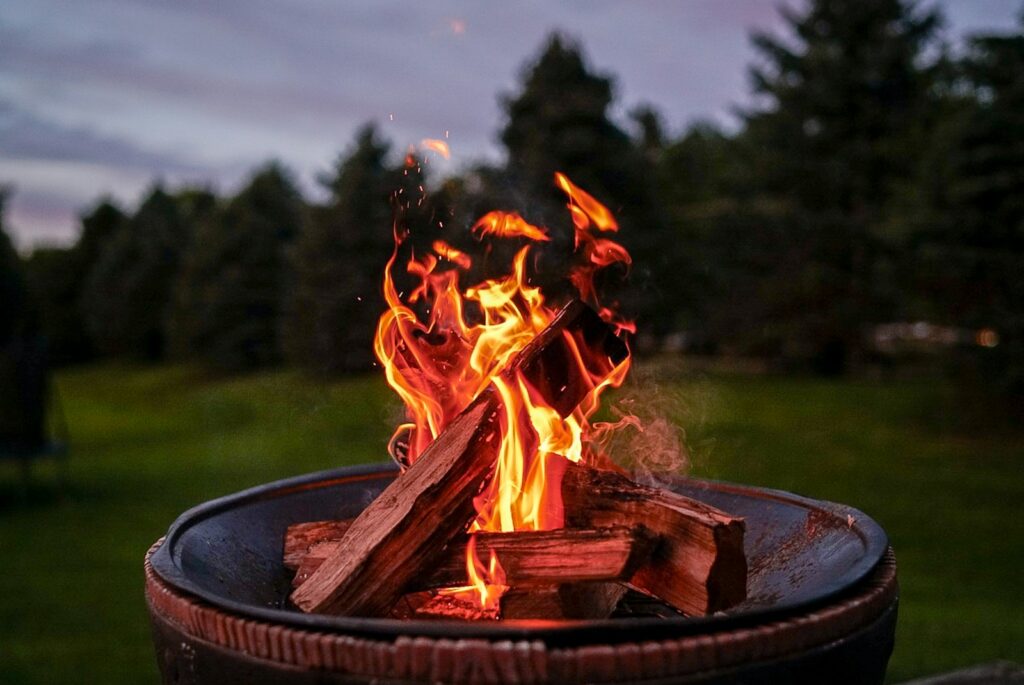
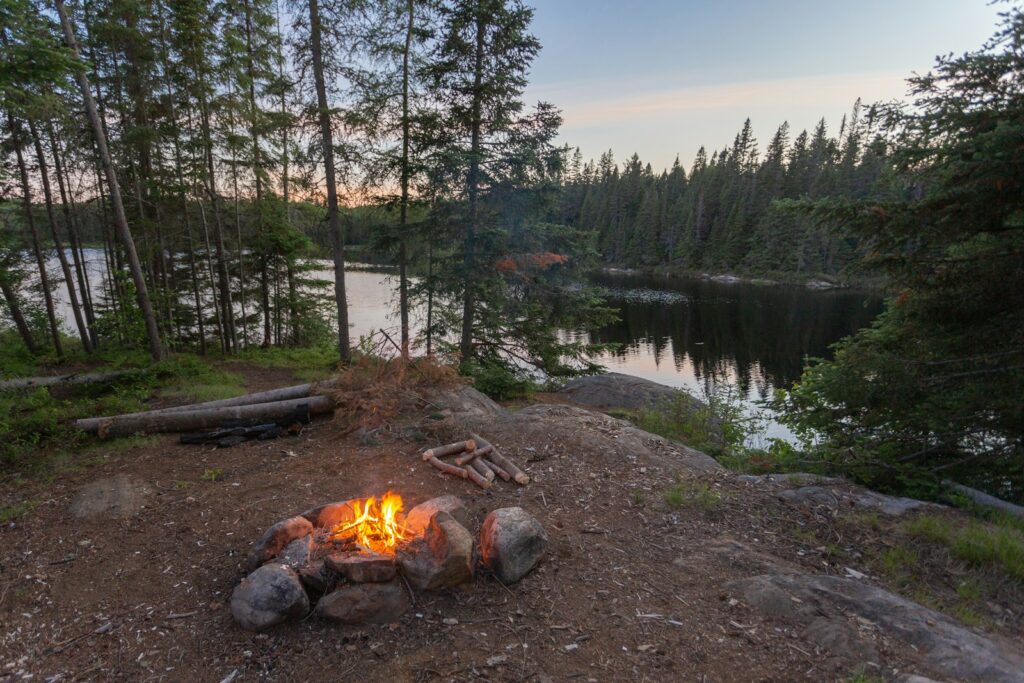
There’s something primal and deeply satisfying about sitting around a campfire under the stars. The dancing flames, the comforting warmth, and the soft crackle of burning wood create an atmosphere that connects us to our ancestors who relied on fire for survival. But there’s nothing more frustrating than waking up cold in the middle of the night because your campfire has died out. Building a fire that lasts through the night is both an art and a science, requiring careful planning and execution. Contrary to popular belief, you don’t need accelerants like gasoline (which is dangerous and environmentally harmful) to create a long-lasting campfire. This guide will walk you through proven methods to build a sustainable fire that provides warmth and security throughout the night.
Understanding the Fire Triangle
Before diving into specific techniques, it’s essential to understand the basic science behind fire. Every fire requires three elements to sustain itself: fuel, oxygen, and heat, collectively known as the fire triangle. Remove any one of these elements, and the fire will extinguish. The key to a long-lasting campfire is managing these three elements effectively throughout the night. Different types of wood provide varying amounts of fuel and burn at different rates. Air circulation supplies the necessary oxygen, which can be controlled through your fire layout. Heat is generated by the fire itself but needs to be maintained through proper construction and fuel addition. Understanding this triangle will help you troubleshoot any issues that arise when building your overnight fire.
Selecting the Ideal Location
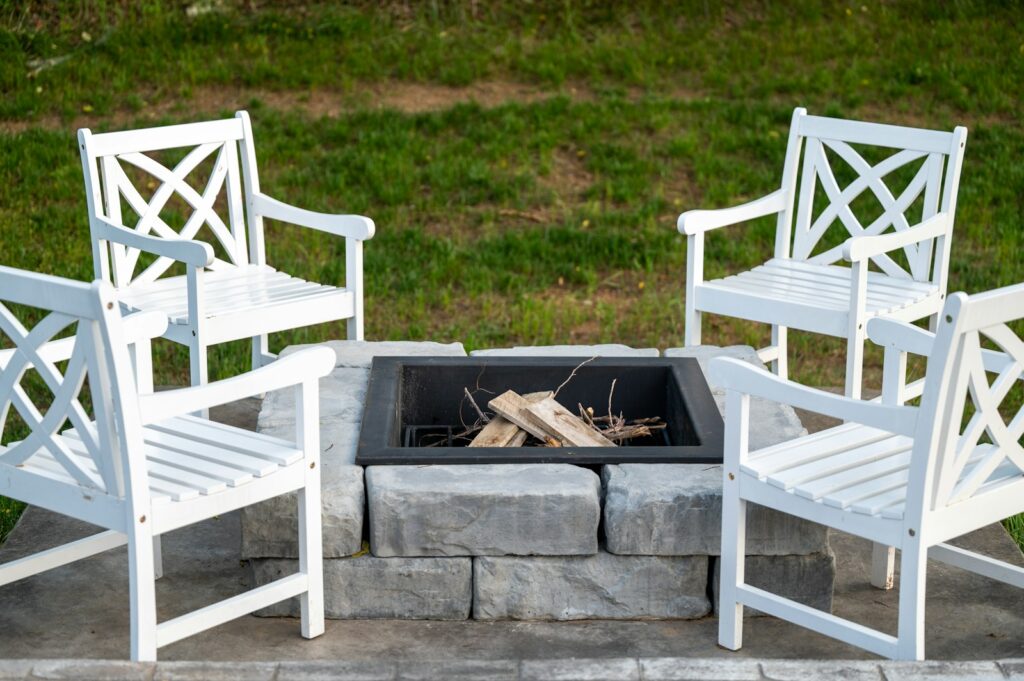
The foundation of a successful all-night campfire begins with choosing the right location. Always use established fire rings or pits when available to minimize environmental impact and follow leave-no-trace principles. If you must create a new fire pit, select a spot at least 15 feet away from tents, trees, or anything flammable, and clear a 10-foot diameter area down to bare soil. Check for overhead hazards such as low-hanging branches that could catch fire from rising sparks. The location should also offer some protection from the wind, as strong gusts can cause your fire to burn too quickly or blow sparks into surrounding brush. If possible, position yourself upwind of the fire to avoid smoke irritation, especially since you’ll be spending hours near this fire.
Gathering the Right Types of Wood
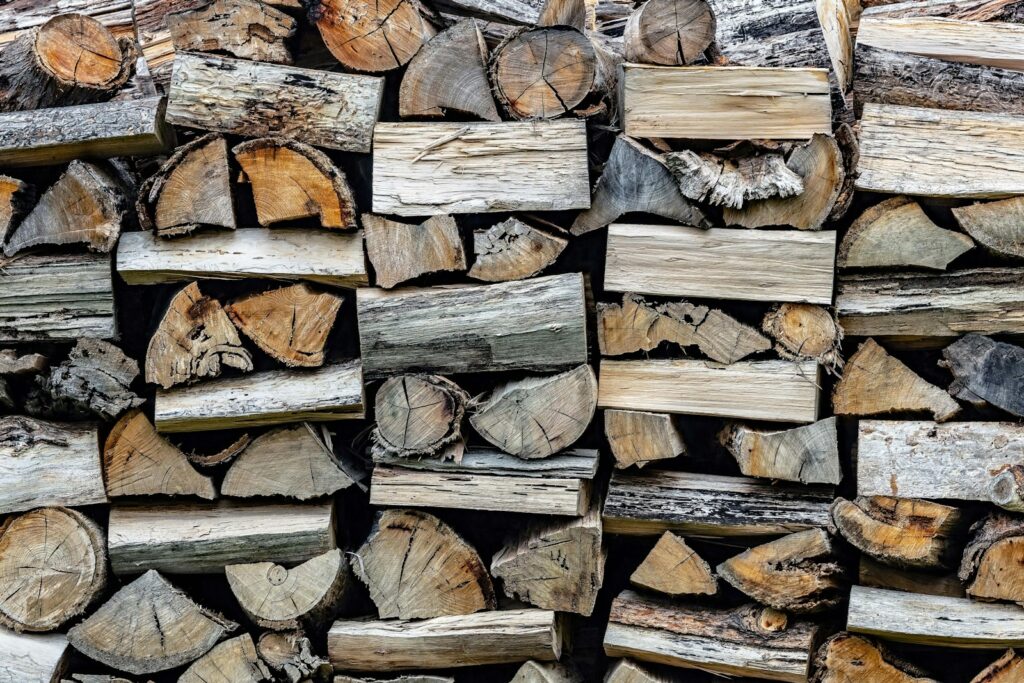
The secret to a long-lasting fire lies largely in the wood you select. You’ll need three distinct types of wood: tinder, kindling, and fuelwood. Tinder consists of small, easily combustible materials like dry grass, birch bark, pine needles, or commercial fire starters that catch fire quickly. Kindling includes small sticks about the diameter of a pencil that will catch from your tinder and create enough heat to ignite larger pieces. Fuelwood comprises larger logs that will sustain your fire through the night, with hardwoods like oak, maple, and hickory burning longer and producing more heat than softwoods like pine or cedar. Gather more wood than you think you’ll need—a good rule of thumb is to collect what seems sufficient, then triple that amount. Always use dead, dry wood that breaks with a snap rather than bending, and avoid cutting live trees or removing large fallen logs that serve as wildlife habitat.
Preparing Logs for Maximum Burn Time
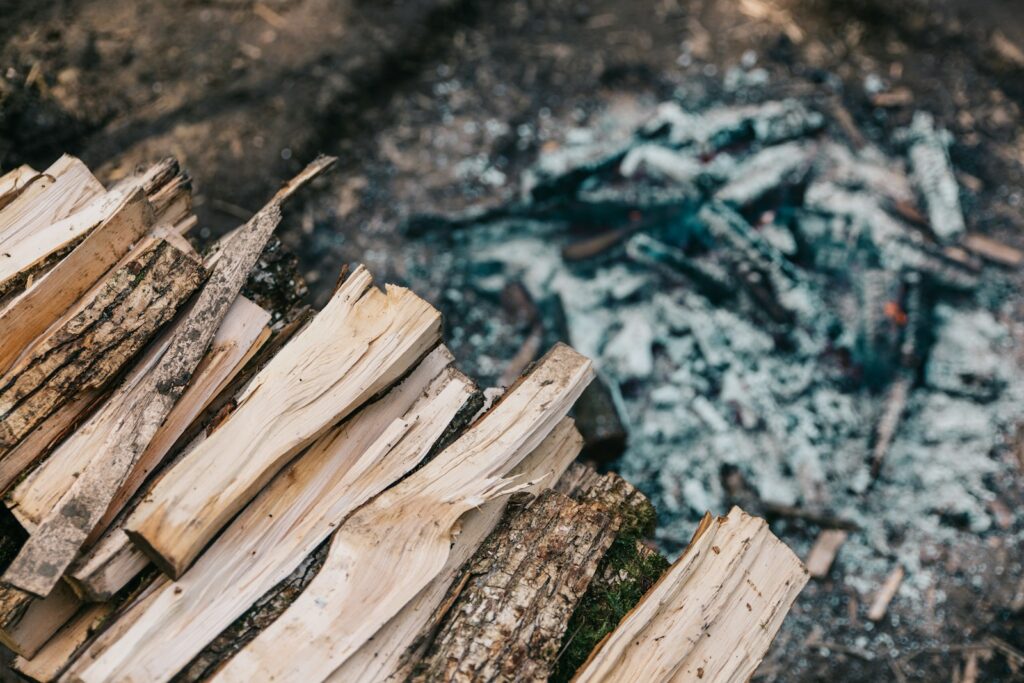
How you prepare your logs significantly impacts their burn time and efficiency. For overnight fires, focus on collecting larger diameter logs (4-8 inches) as they burn longer than smaller pieces. If possible, split larger logs into halves or quarters, as split wood with exposed inner surfaces burns more efficiently than round logs. Consider debarking portions of your logs, as bark can inhibit oxygen flow and create more smoke. Hardwoods should be your primary fuel for overnight burning—oak can burn up to 8 hours, while maple and hickory offer 6-7 hours of consistent heat. If you’re in an area with limited hardwood, you can extend softwood burn time by slightly dampening (not soaking) larger logs, which slows their combustion rate. Remember that properly seasoned (dried) wood burns cleaner and longer than green or wet wood, which produces excessive smoke and poor heat.
The Upside-Down Fire Method
The upside-down fire (also called the top-down or reverse fire) is one of the most effective methods for creating a long-lasting campfire. Unlike traditional fires where you start small and add larger pieces, this method inverts the process. Begin by laying your largest logs parallel to each other as the base layer, then add a perpendicular layer of slightly smaller logs on top, creating a crisscross pattern. Continue building upward with progressively smaller pieces, finishing with kindling and tinder at the very top. When lit from above, this configuration burns downward gradually, with each layer igniting the one below it. The weight of the burning material pushes ash and embers down, creating a concentrated heat source that can burn efficiently for hours without adjustment. This method also produces less smoke and requires less maintenance than conventional fire-building techniques, making it ideal for overnight burning.
The Star Method for Controlled Burning
The star method is another excellent technique for creating a fire that requires minimal maintenance throughout the night. Begin by building a small traditional fire in the center of your fire pit. Once you have a good bed of coals, arrange 5-7 large logs radiating outward from the center like spokes on a wheel, with only their ends meeting in the middle fire. As the ends burn, simply push the logs further into the center to maintain the fire. This technique works brilliantly because it’s self-regulating—the fire only burns the portions of wood in the center, and you control the rate by adjusting how far the logs extend into the flames. The star method conserves fuel while providing consistent heat and can easily last through the night with occasional adjustments. It’s particularly effective in areas with fire restrictions limiting flame height, as it maintains a smaller, more controlled burn than other methods.
Building a Long-Burning Log Cabin Structure
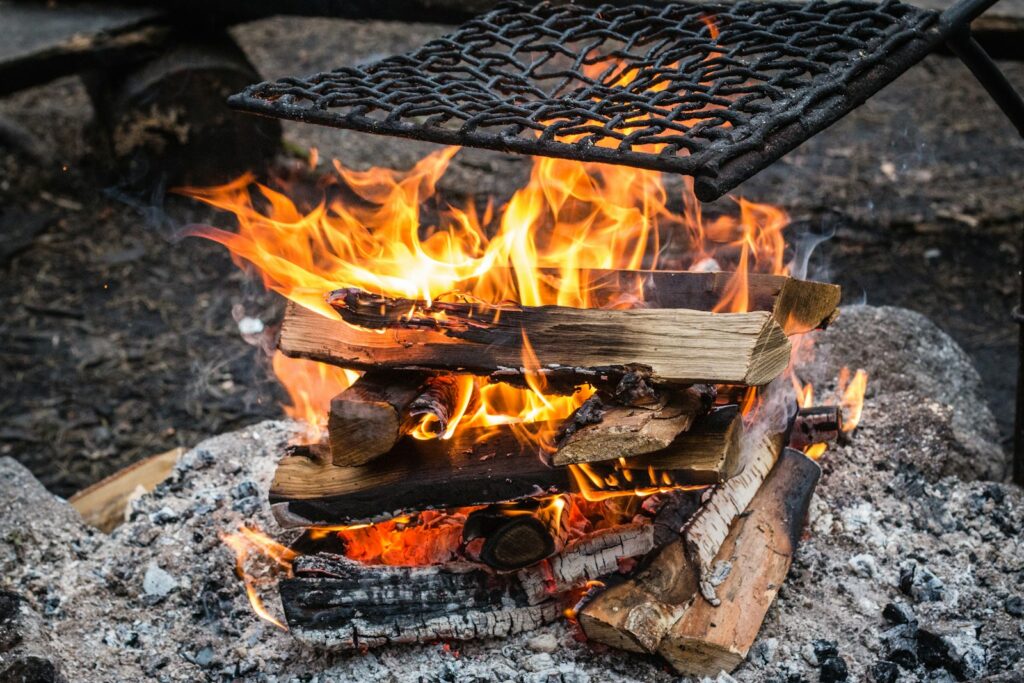
The log cabin method creates a stable structure that promotes airflow while containing heat effectively. Start by placing two large, parallel logs as the foundation, then add two more logs perpendicular to the first pair, creating a square frame. Continue alternating directions with progressively smaller logs until you’ve built a structure resembling a log cabin, leaving sufficient space in the center for your tinder and kindling. This configuration maximizes oxygen flow while reflecting heat inward, creating an efficient burning environment. For overnight burning, use larger logs for the outer structure and consider adding a “roof” of medium-sized logs across the top after the fire is established, which will catch and radiate heat downward. The log cabin design is particularly effective in colder weather as it creates a concentrated heat source that radiates outward, and its stable structure requires minimal rearrangement throughout the night.
Creating a Self-Feeding Fire
A self-feeding fire is the ultimate solution for maintaining flames throughout the night without having to wake up for maintenance. This advanced technique requires a sloped surface or can be created using a specialized arrangement. Position several large logs parallel to each other with one end elevated on rocks or another log, creating an inclined plane that slopes down toward your main fire. As the lower portions burn away, gravity naturally feeds the logs further into the flames. The key to success is finding the right angle—too steep and the fire burns too quickly, too shallow and the logs won’t feed properly. You can enhance this setup by placing a large reflector log on the opposite side of your main fire to direct heat back toward your sleeping area. Self-feeding fires require more initial setup time but offer the reward of uninterrupted sleep while maintaining consistent warmth throughout the night.
Using Natural Accelerants (Not Gasoline)
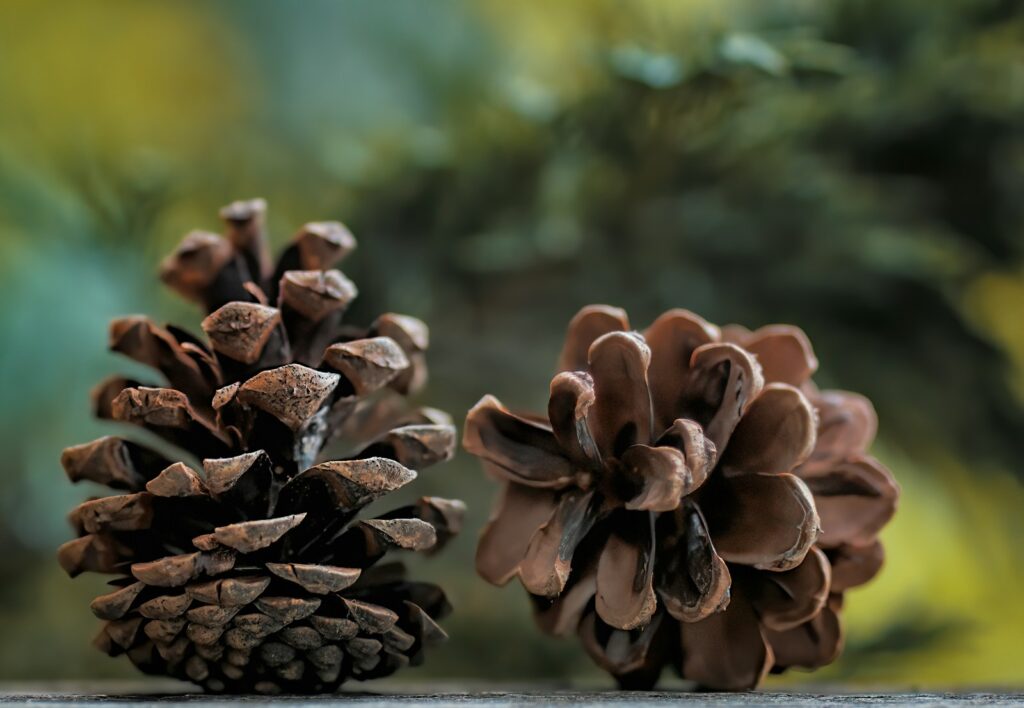
While gasoline and other liquid fuels should never be used on campfires due to safety and environmental concerns, there are natural accelerants that can help establish and maintain your fire. Fatwood (resin-rich pine wood) contains natural oils that ignite easily and burn hot, making it excellent for starting fires in damp conditions. Birch bark contains natural oils that burn even when wet and makes an outstanding fire starter. Pine cones, especially closed ones, burn slowly and help transition from kindling to larger fuels. You can also create fire starters before your trip by dipping cotton balls in petroleum jelly, filling cardboard egg cartons with dryer lint and wax, or soaking pine cones in melted wax. These natural and prepared accelerants provide longer burn times than paper and help establish a strong initial fire, which is crucial for developing the coal bed needed for overnight burning.
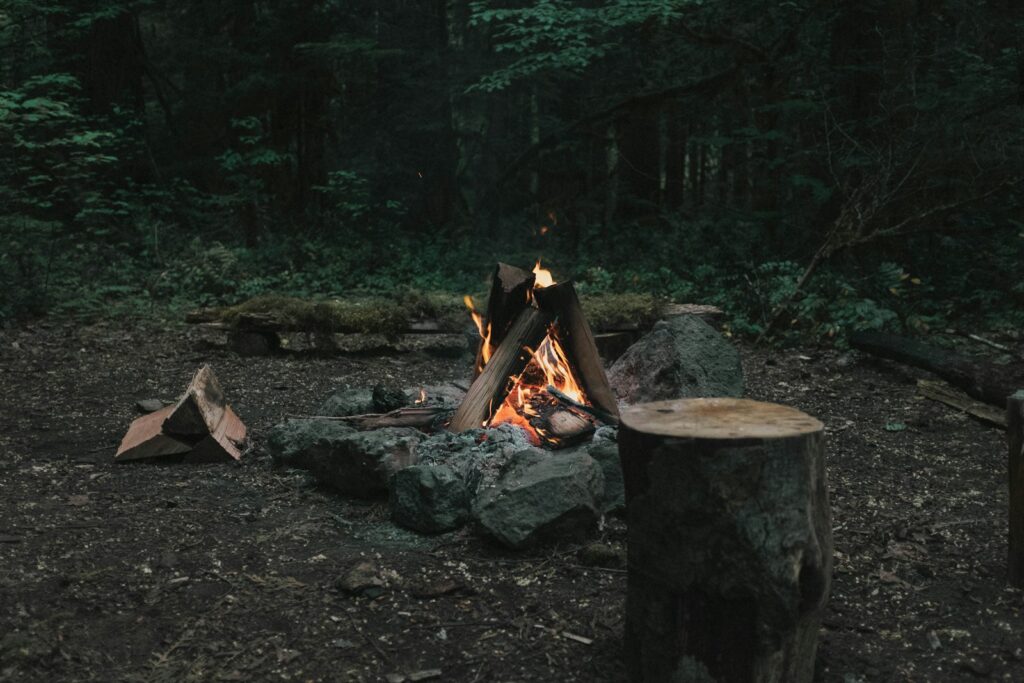
Maintaining the Perfect Coal Bed
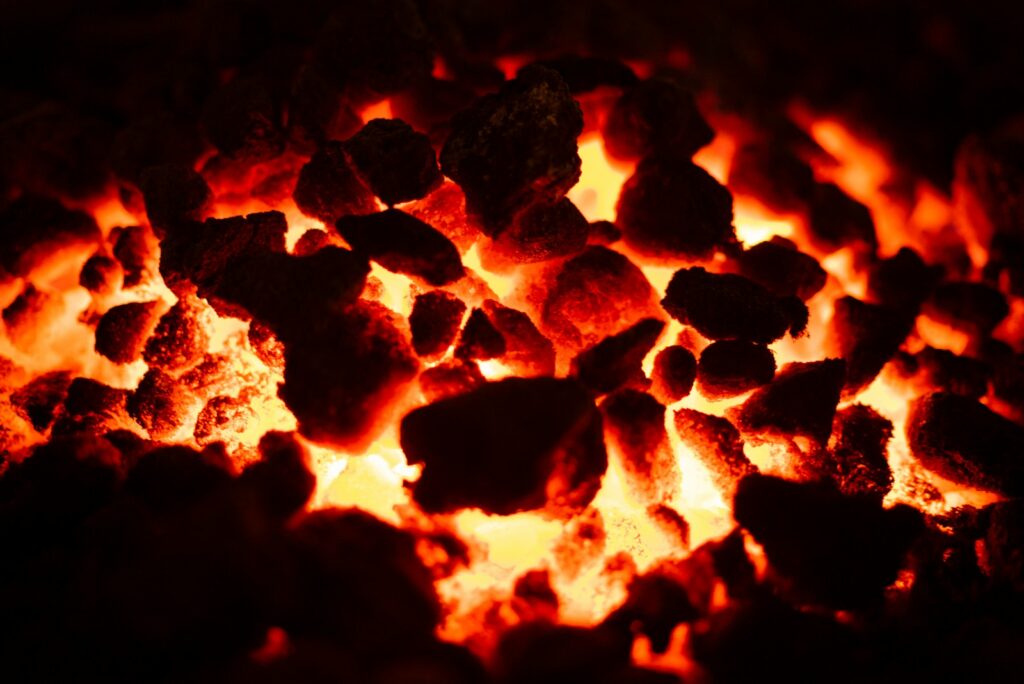
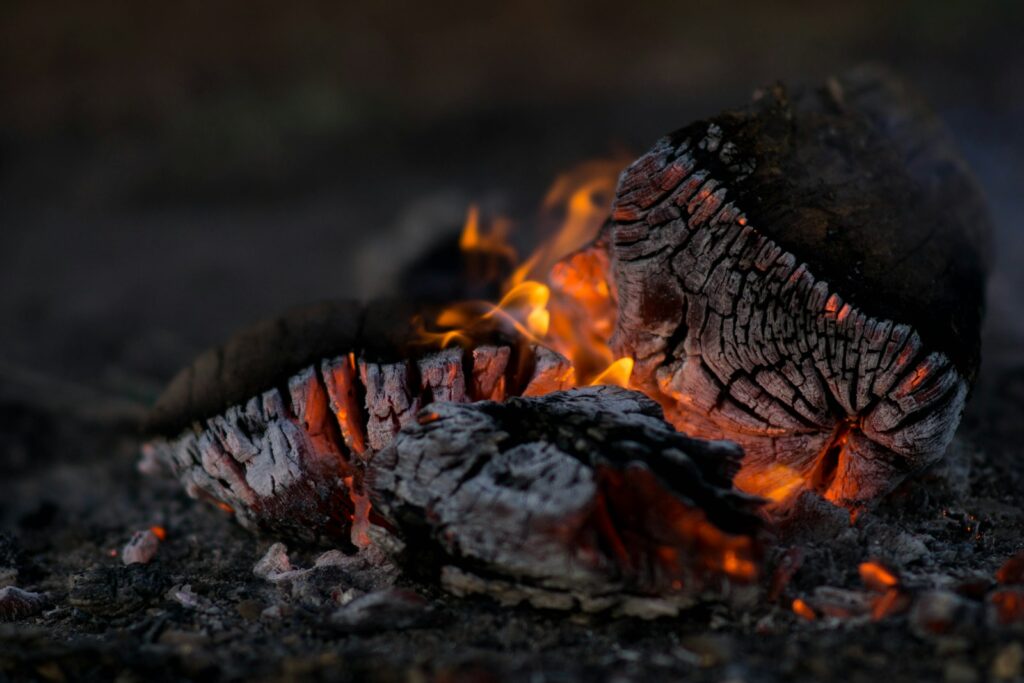
The true secret to an all-night fire isn’t in the flames but in maintaining a robust bed of coals, which provides consistent heat with minimal fuel consumption. After establishing your initial fire, allow it to burn down until you have a substantial layer of glowing embers before adding your overnight logs. These coals serve as the engine of your fire, igniting new wood and maintaining heat throughout the night. To preserve your coal bed, occasionally use a stick to gently break apart larger chunks of burning wood, which increases their surface area and heat output. Consider adding a thin layer of ash over portions of your coal bed to insulate it, slowing combustion while maintaining heat. When adding new logs, position them to maximize contact with the coal bed without smothering it, finding the balance between fuel and oxygen that sustains slow, consistent burning.
Weather Considerations and Adaptations
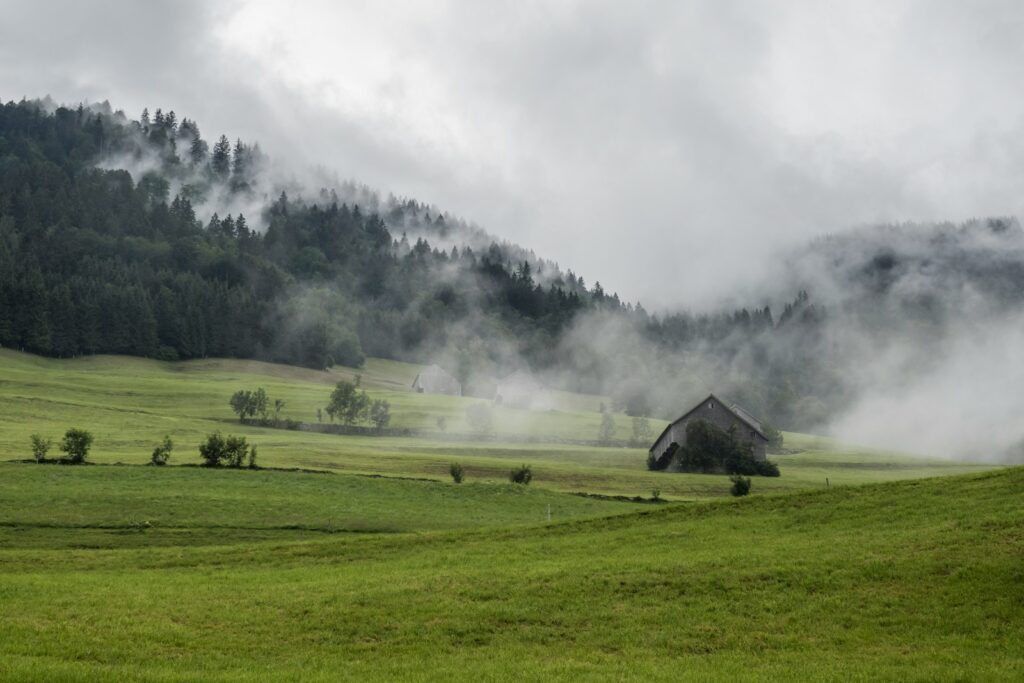
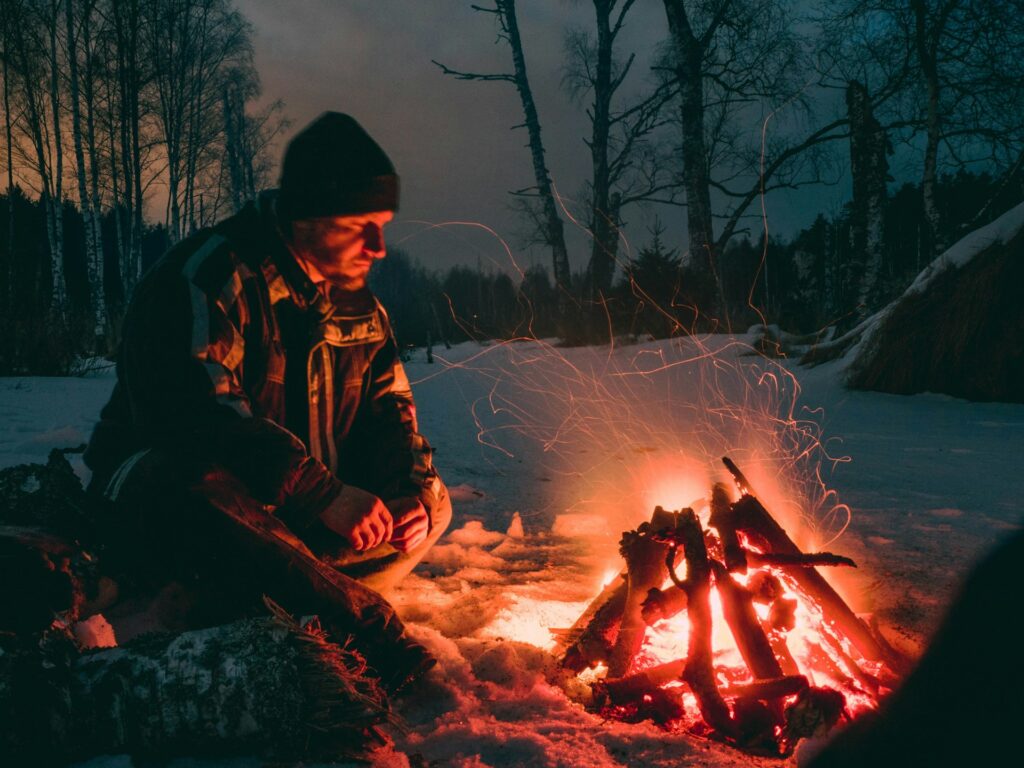
Weather conditions significantly impact fire performance and require specific adaptations for overnight burning. In windy conditions, dig your fire pit slightly deeper than usual and build a windbreak using rocks, logs, or natural terrain features to prevent excessive oxygen from accelerating fuel consumption. During rainy weather, create a platform of dry logs as a base to elevate your fire above the damp ground, and construct a larger than normal fire to overcome the cooling effect of moisture in the air. In extremely cold temperatures, focus on reflector techniques by positioning large logs or rocks behind your fire to direct heat toward your sleeping area, and consider building your fire longer rather than taller to distribute warmth more evenly. For humid conditions, split your wood into smaller pieces to expose more surface area to the fire, helping moisture evaporate more quickly and improving combustion efficiency.
Safety Measures for Overnight Fires
Safety must remain paramount when maintaining an overnight fire. Before sleeping, create a robust fire barrier using rocks to contain sparks and prevent spreading, ensuring it extends at least 12 inches around the entire fire. Clear all flammable materials, including leaves, pine needles, and small branches, from a 10-foot radius around your fire pit. Keep a container of water, a shovel, and a fire extinguisher (if available) nearby for emergency suppression. Never leave a fire completely unattended—if everyone is sleeping, designate rotating “fire watch” shifts if your group has multiple people. Position your sleeping area close enough to monitor the fire but far enough away (at least 15 feet) to avoid sparks and excessive heat. Before retiring for the night, reduce the fire to a manageable size focused more on coals than flames, which decreases the risk of spreading while still providing warmth throughout the night.
Properly Extinguishing Your Fire
Even after a successful night of continuous burning, properly extinguishing your fire in the morning is essential for environmental protection and safety. Begin the process early, allowing at least 20 minutes before you plan to leave the site. Spread the remaining logs and embers with a stick or shovel, breaking up concentrated heat sources. Sprinkle water gradually over the fire rather than pouring it all at once, which helps prevent steam explosions and allows better penetration to hidden embers. Stir the wet ashes thoroughly, reaching deep into the fire bed to access all hot spots. Continue adding water and stirring until all hissing sounds stop and no steam appears when stirring. As a final test, hover your hand over the extinguished fire (without touching it) to check for any remaining heat—the ashes should feel cool to the proximity of your hand. Remember the campfire mantra: “If it’s too hot to touch, it’s too hot to leave.”
Conclusion: Mastering the Art of the Overnight Fire
Building a campfire that lasts through the night represents one of the most satisfying wilderness skills you can master. By understanding fire science, selecting appropriate wood, and implementing strategic construction methods like the upside-down fire or star technique, you can enjoy consistent warmth without resorting to dangerous accelerants like gasoline. The perfect overnight fire requires planning, patience, and practice, but the reward is a night of uninterrupted comfort and the quiet pride that comes from self-sufficiency in the wilderness. As you develop this skill, you’ll find yourself connecting with a tradition that stretches back to the earliest human experiences—harnessing fire not just for survival, but as a companion that transforms a night in the woods from an endurance test into a memorable experience. Remember that with this mastery comes responsibility: always prioritize safety and environmental stewardship by thoroughly extinguishing your fire and leaving no trace of your presence except memories and perhaps a few photographs.