
Hiking is one of the most rewarding outdoor activities, offering breathtaking views and a deep connection with nature. However, the joy of conquering trails can quickly turn uncomfortable when hikers experience painful toe conditions. “Hiker’s toe” – characterized by blackened toenails, blisters, and pain – affects many outdoor enthusiasts but remains largely preventable with proper preparation and technique. Whether you’re planning a casual day hike or preparing for a multi-day backpacking adventure, understanding how to protect your feet can make the difference between a memorable journey and a painful ordeal.
Understanding Hiker’s Toe

Hiker’s toe, more formally known as subungual hematoma, occurs when blood pools beneath the toenail due to repeated trauma or pressure during hiking activities. This condition typically affects the big toe but can impact any toe that experiences continuous friction or compression inside hiking boots. The hallmark symptom is a darkening toenail that may eventually fall off if the damage is severe enough. The condition results from toes repeatedly slamming against the front of boots during descents or when hiking boots don’t properly accommodate foot movement. While rarely dangerous, hiker’s toe can be extremely painful and may sideline hikers for weeks while healing occurs.
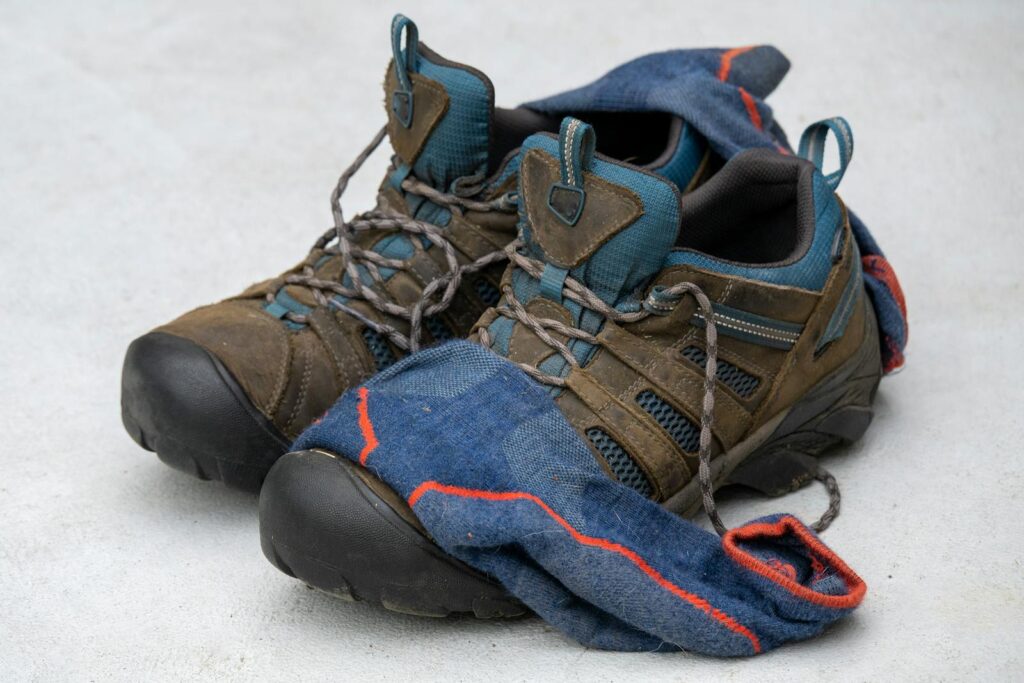
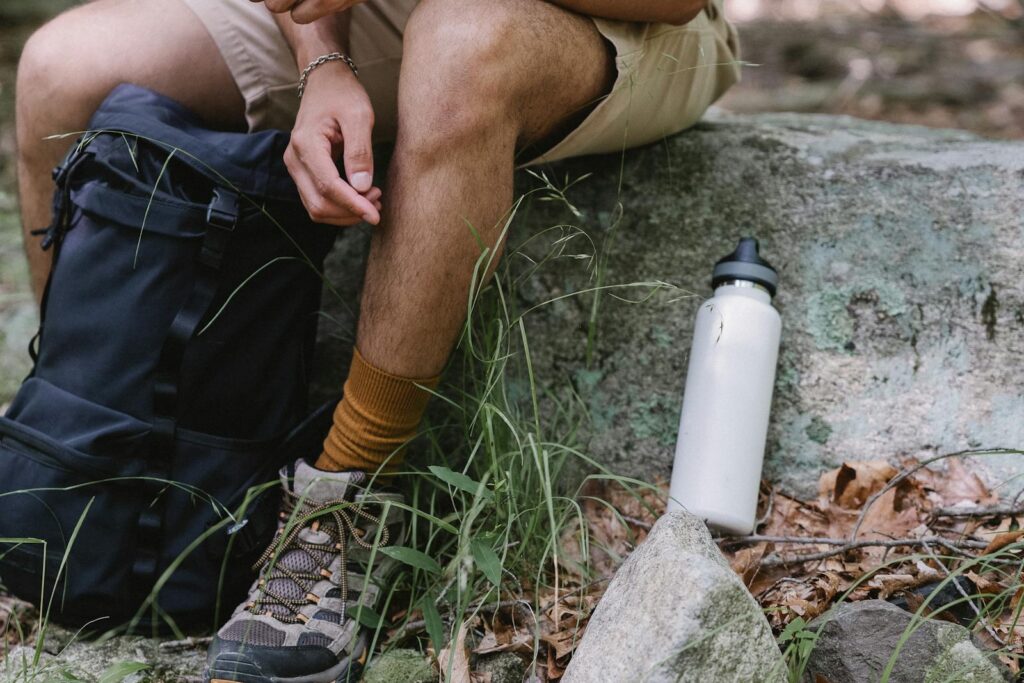
Choosing the Right Hiking Footwear
Selecting appropriate footwear is perhaps the most crucial factor in preventing hiker’s toe. Hiking boots or shoes should provide adequate room in the toe box, allowing toes to spread naturally and move slightly forward during descents without hitting the front of the shoe. When trying on hiking footwear, ensure there’s approximately a thumb’s width of space between your longest toe and the end of the boot. Consider shopping for boots in the afternoon when feet are naturally more swollen, similar to how they’ll be on the trail. Many experienced hikers opt for boots a half-size larger than their regular footwear to accommodate this movement and the thicker socks typically worn while hiking.
The Importance of Breaking In Your Boots
Even the most perfectly sized hiking boots need to be broken in before hitting challenging trails. New boots lack the flexibility and customized fit that develops over time as the materials conform to your unique foot shape. Wear new hiking boots around the house, then on short walks, gradually increasing distance before taking them on serious hikes. This breaking-in period allows the boot to adapt to your foot’s contours and movement patterns, reducing friction points that could lead to hiker’s toe. Some hikers accelerate this process by wearing boots with wet socks or using boot stretchers, though natural break-in typically provides the most comfortable results. A properly broken-in boot will feel like an extension of your foot rather than a rigid enclosure.
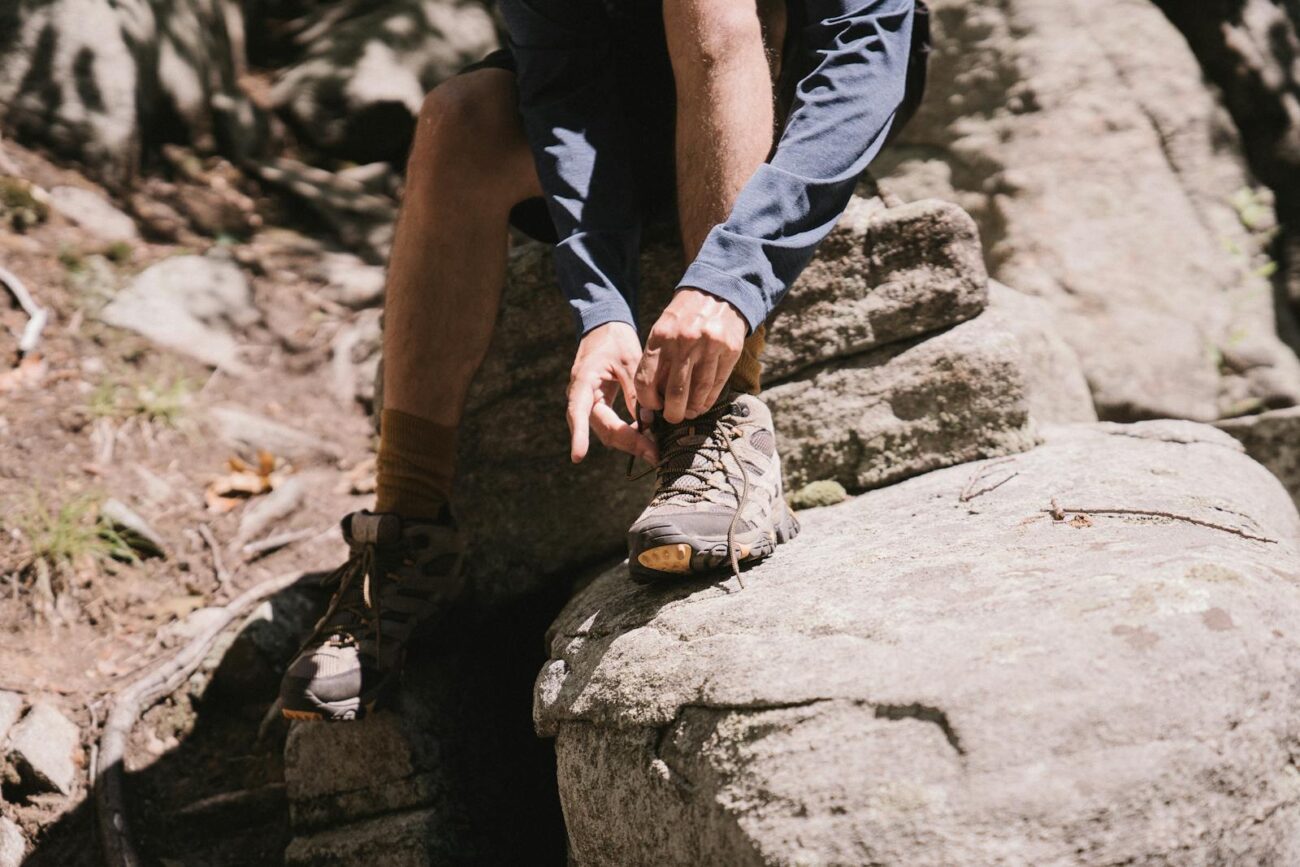
Perfecting Your Lacing Technique
The way you lace your hiking boots can significantly impact toe comfort and prevent sliding that contributes to hiker’s toe. Different lacing patterns serve different purposes – heel lock lacing, for instance, secures the heel in place and prevents forward foot movement during descents. The surgeon’s knot technique creates anchor points that maintain targeted tightness in specific areas while allowing other areas to remain looser. For those with high insteps, skip-lacing can relieve pressure on the top of the foot while maintaining overall stability. Experiment with different patterns on shorter hikes until you find what works best for your foot shape and hiking style. Proper lacing should feel secure without creating pressure points or restricting circulation.
Sock Selection and Layering Strategies
Selecting the right hiking socks is far more nuanced than simply grabbing the thickest pair available. Quality hiking socks offer cushioning where needed while wicking moisture away from the skin to prevent blisters. Many experienced hikers use a two-sock system: a thin, moisture-wicking liner sock against the skin, topped with a thicker cushioned sock. This combination significantly reduces friction as the socks rub against each other rather than against your skin. Materials matter tremendously – avoid cotton which retains moisture, and instead opt for merino wool or synthetic blends designed specifically for hiking. Sock height should extend above your boot tops to prevent the upper edge of boots from rubbing directly against skin.
Toenail Preparation and Maintenance
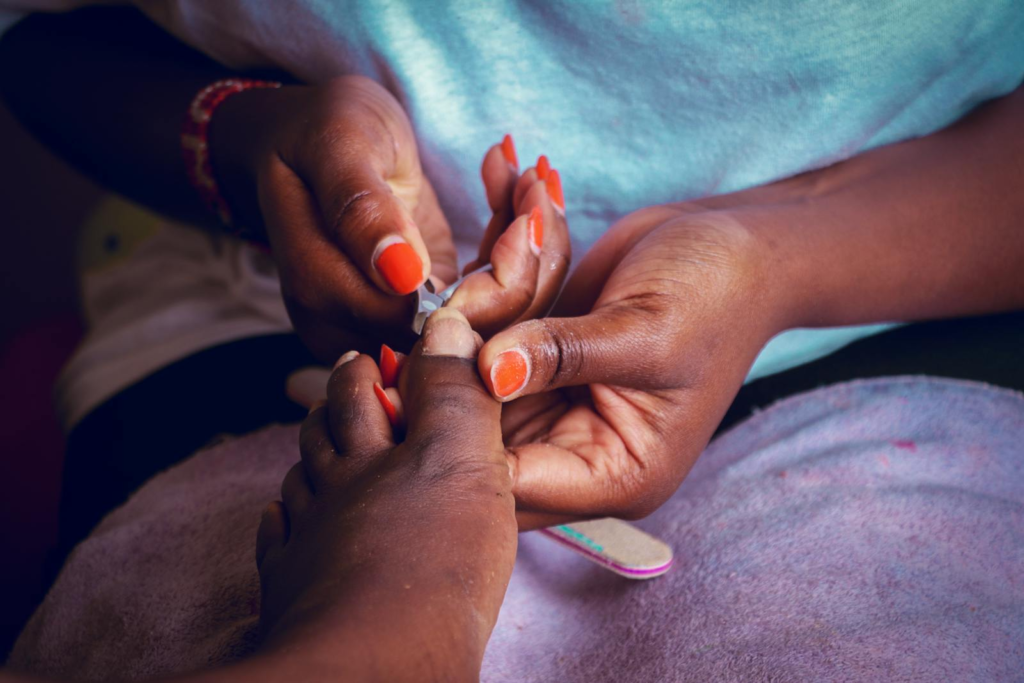
Proper toenail care forms a crucial but often overlooked aspect of preventing hiker’s toe. Trim toenails straight across approximately 1-2 days before a hike, avoiding cutting them too short which can lead to painful ingrown nails on the trail. The ideal length keeps nails even with the toe tip, preventing them from pressing against boot fronts while still protecting the sensitive nail bed. File any sharp edges to prevent snagging on socks. For longer treks, pack compact nail clippers to maintain proper length throughout your journey. Some hikers apply clear strengthening polish to provide additional protection against the repeated impact that can lead to nail damage during extended hiking periods.
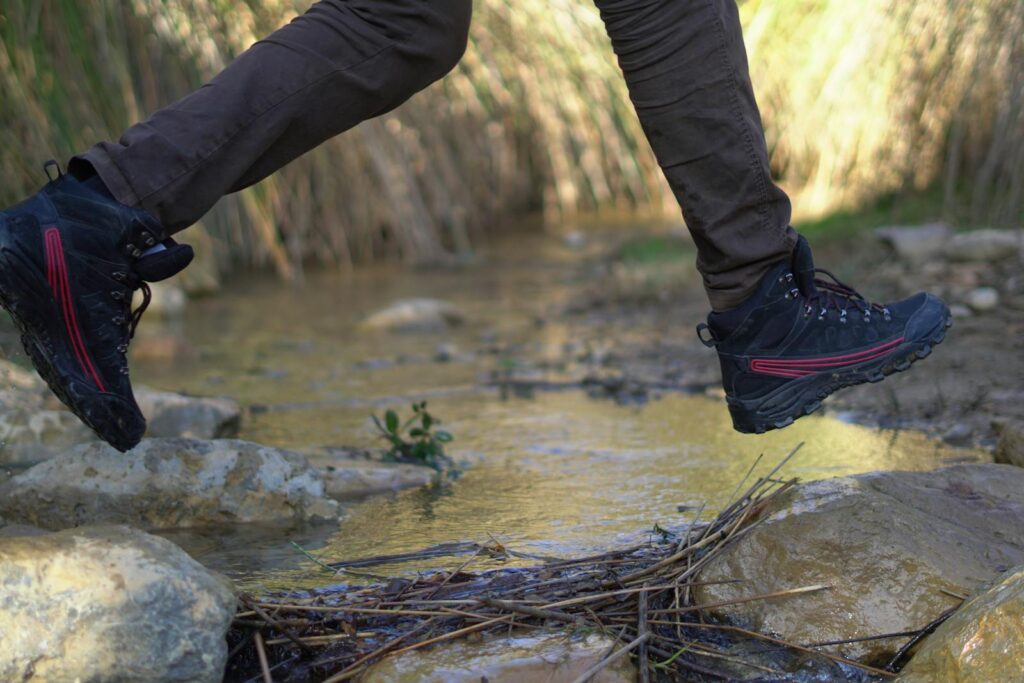
Mastering Downhill Hiking Technique

Downhill sections pose the greatest risk for developing hiker’s toe as gravity pushes feet forward in boots with each step. Proper descending technique can dramatically reduce this trauma. Rather than taking long strides, adopt a shorter step pattern that minimizes forward momentum and decreases toe impact. Keep knees slightly bent to absorb shock instead of transferring it to your feet. When terrain allows, consider zigzagging down steep sections to reduce the direct downward force. Using trekking poles provides additional stability and takes some weight off your lower body, reducing the force on your toes. On particularly steep descents, some hikers employ the “side-stepping” technique, placing feet perpendicular to the slope to minimize forward slide within boots.
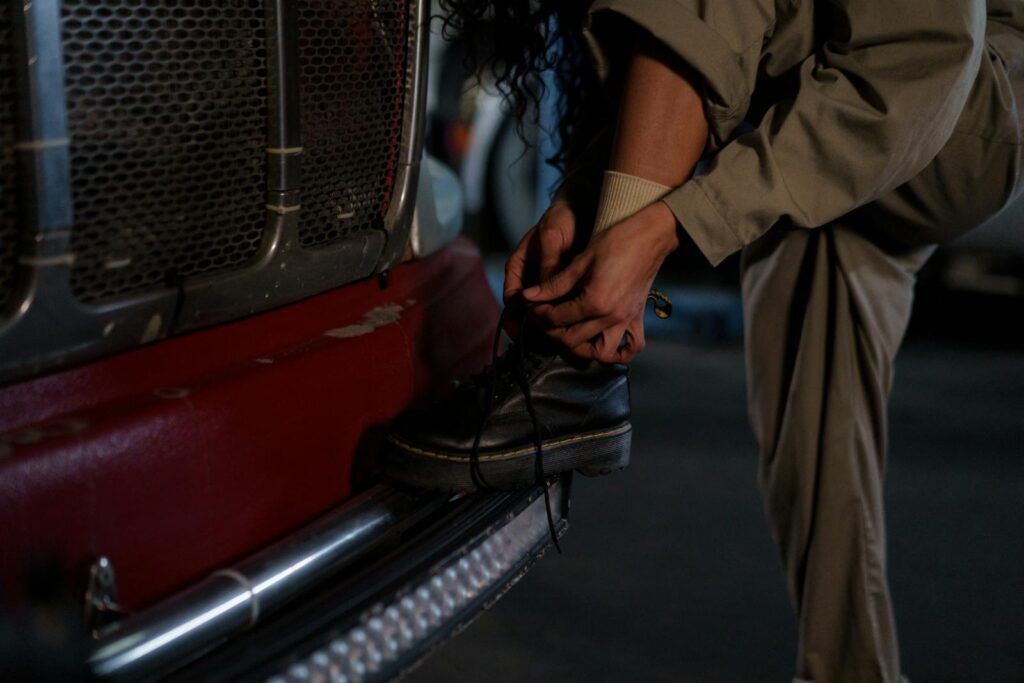
Preventative Taping Methods
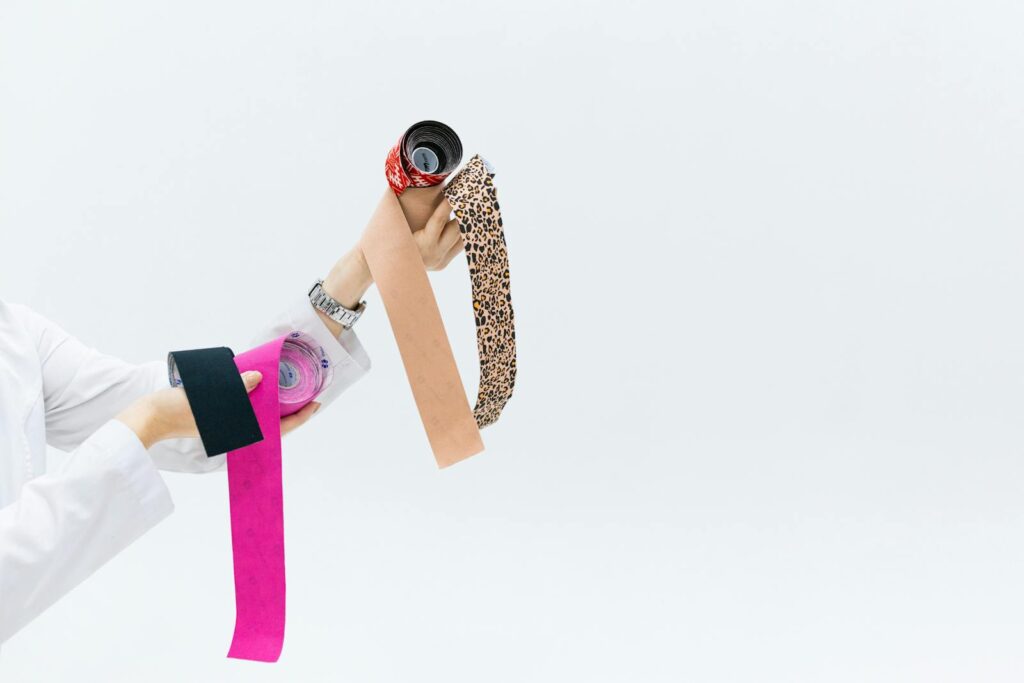
Strategic taping before hikes can provide additional protection against developing hiker’s toe. Athletic tape or specialized blister tape applied to vulnerable toes creates a protective barrier against friction. One effective method involves wrapping individual toes from base to tip, ensuring the tape is snug but not tight enough to restrict circulation. Some hikers prefer the “toe cap” method, where tape wraps around the toe tip in a protective cap formation. For those with previous toe injuries, taping affected toes to adjacent healthy ones (buddy taping) can provide stabilization and prevent excessive movement. When applying tape, ensure skin is clean and dry, and consider using adherent spray for longer-lasting protection on multi-day hikes.
Insole and Orthotic Solutions
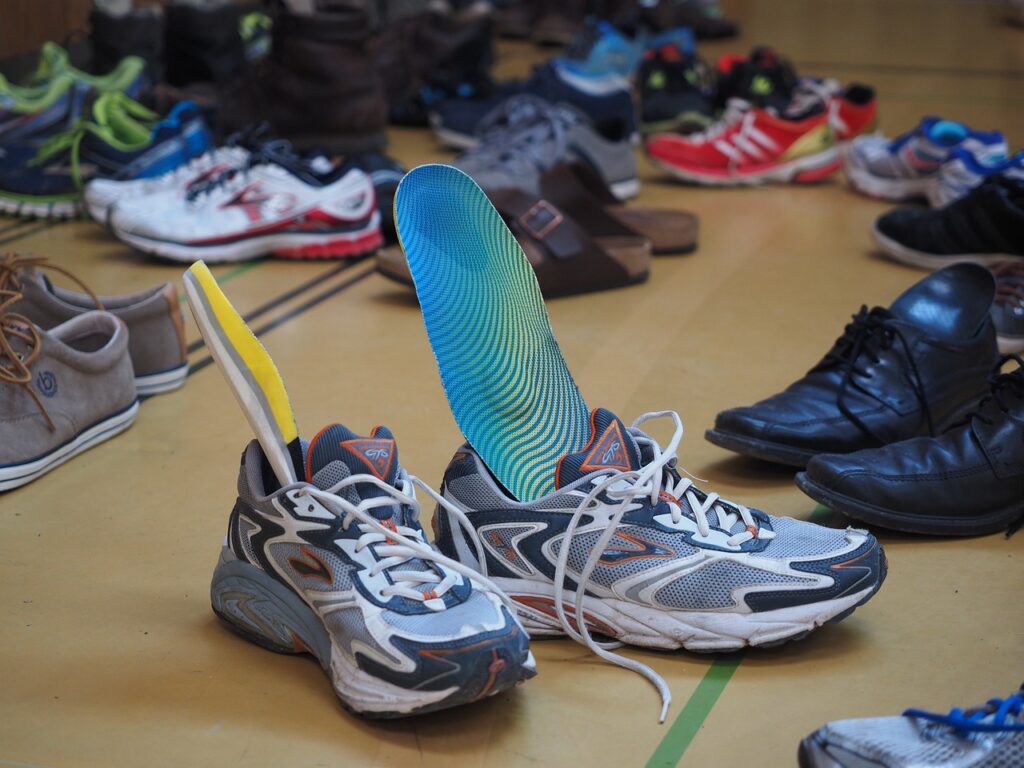
Stock insoles that come with hiking boots rarely provide optimal support for preventing hiker’s toe. Aftermarket insoles or custom orthotics can dramatically improve foot positioning within boots, limiting the forward slide that causes toe trauma. Look for insoles with pronounced arch support and deep heel cups that help lock your foot in place during descending movements. Some specialized hiking insoles feature a slight downward angle at the toe area to counteract the natural forward slide during descents. Custom orthotics, while more expensive, offer personalized support tailored to your specific foot mechanics and hiking needs. Even high-quality prefabricated insoles typically need replacement every 300-500 miles as their supportive properties diminish with use.
Mid-Hike Adjustments and Interventions
Being proactive during hikes can prevent developing toe problems before they become serious. At the first sign of toe discomfort or “hot spots,” stop and address the issue rather than pushing through the pain. Retie boots using different tension patterns – often loosening across the top of the foot while maintaining heel security helps reduce toe pressure. On longer hikes, schedule short breaks to remove boots, allowing feet to return to their natural shape and circulation patterns. Some hikers carry moleskin or adhesive bandages to apply at the first sign of friction. For multi-day treks, changing socks midday provides fresh cushioning and removes accumulated moisture that can exacerbate friction problems.
Foot Strengthening Exercises

Strong, flexible feet are naturally more resilient against the conditions that cause hiker’s toe. Implementing a regular foot strengthening routine can significantly improve foot function and stability on the trail. Toe spreads, where you actively separate your toes as wide as possible for 5-10 seconds per repetition, help counteract the narrowing effect of conventional footwear. Towel scrunches, performed by placing a small towel on the floor and using your toes to scrunch it toward you, strengthen the intrinsic foot muscles that help maintain proper toe positioning. Calf raises not only strengthen lower legs but improve ankle stability, reducing excessive movement within hiking boots. For hikers with recurring toe problems, balance exercises on uneven surfaces can improve proprioception and foot control during challenging trail conditions.
Post-Hike Recovery Practices
What you do after hiking plays a significant role in preventing cumulative damage that leads to hiker’s toe. Immediately after removing boots, elevate feet to reduce swelling and improve circulation to damaged tissues. Cold therapy, such as brief ice baths or cold compresses, can reduce inflammation in overworked tissues before it leads to lasting damage. Many experienced hikers maintain a dedicated post-hike self-massage routine, using fingers or specialized tools to release tension in foot muscles and break up adhesions. Compression socks worn after hiking can help maintain proper fluid balance and support recovery. For those engaged in consecutive days of hiking, alternating between different pairs of fully dried boots can give foot tissues time to recover from specific pressure patterns.
When to Seek Professional Help

While many cases of hiker’s toe can be prevented or managed with self-care, certain situations warrant professional medical attention. Seek help if a darkened toenail becomes extremely painful, as this may indicate infection or pressure that requires drainage. Persistent pain that doesn’t improve within a few days of rest might suggest a deeper injury like a stress fracture rather than typical hiker’s toe. Any signs of infection, such as increasing redness, warmth, swelling, or pus, require prompt medical evaluation. Recurring hiker’s toe despite implementing preventative measures might indicate underlying biomechanical issues that could benefit from podiatric assessment. Professional analysis of your hiking gait and foot structure can provide personalized recommendations that generic prevention tips cannot address.
Conclusion

Preventing hiker’s toe requires a comprehensive approach that begins long before you hit the trail and continues through your post-hike recovery. By selecting appropriate footwear, mastering proper hiking techniques, and implementing preventative strategies, you can significantly reduce your risk of painful toe injuries that might otherwise cut your adventures short. Remember that prevention is always easier than treatment, and small adjustments to your hiking preparations can yield tremendous benefits for foot comfort and health. With these strategies in place, you can focus less on foot pain and more on enjoying the natural beauty that makes hiking such a rewarding pursuit in the first place.