

Downhill trekking places tremendous stress on your knees, with each step applying forces up to 7-8 times your body weight on these vital joints. While the descent might seem like the easier part of a hike, it’s actually when most knee injuries occur. The combination of gravity, uneven terrain, and repetitive impact can lead to both acute injuries and long-term damage. Fortunately, with proper technique, equipment, and preparation, you can significantly reduce strain on your knees and enjoy pain-free hiking for years to come. This comprehensive guide will provide you with essential strategies to protect your knees when navigating downhill terrain.
Understanding Knee Mechanics During Downhill Trekking
When trekking downhill, your quadriceps muscles work overtime to control your descent and prevent you from tumbling forward. These muscles act as brakes, contracting eccentrically (lengthening while under tension) to slow your momentum. This eccentric loading places significant stress on the knee joint, particularly the patellofemoral joint (kneecap area) and the ACL (anterior cruciate ligament). Additionally, the impact forces travel upward through your legs with each step, compressing your knee joints and potentially causing inflammation or aggravating existing conditions like arthritis or meniscus tears. Understanding these mechanics helps explain why proper technique is so crucial—you’re essentially asking your knees to serve as shock absorbers for your entire body weight multiplied several times over with each downhill step.
Master the Proper Downhill Walking Technique
The foundation of knee protection starts with correct walking technique. Rather than taking large, leaping strides that jar your knees, adopt shorter, more controlled steps when moving downhill. Keep your knees slightly bent throughout your descent, which allows your leg muscles rather than your joints to absorb impact. Your feet should land with the full foot or heel-to-toe rather than just the heel, which can create jarring impacts. Maintain an upright posture with your body perpendicular to the ground (not leaning back), which keeps your center of gravity properly aligned. If the slope is particularly steep, consider a zigzag or switchback pattern rather than going straight down, as this reduces the effective steepness and minimizes strain on your knees.
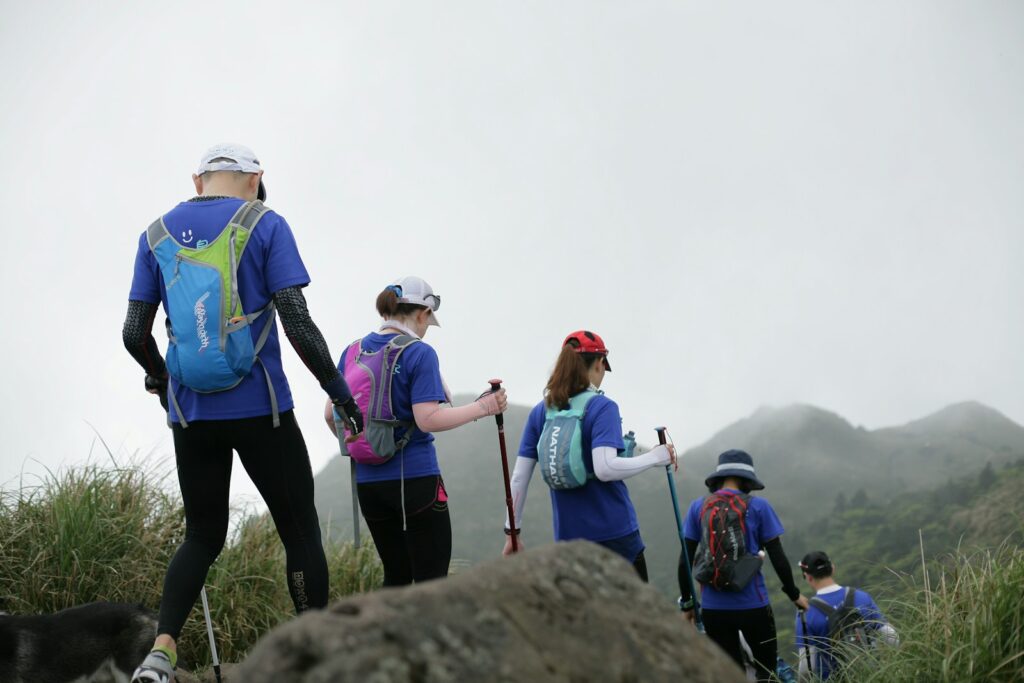
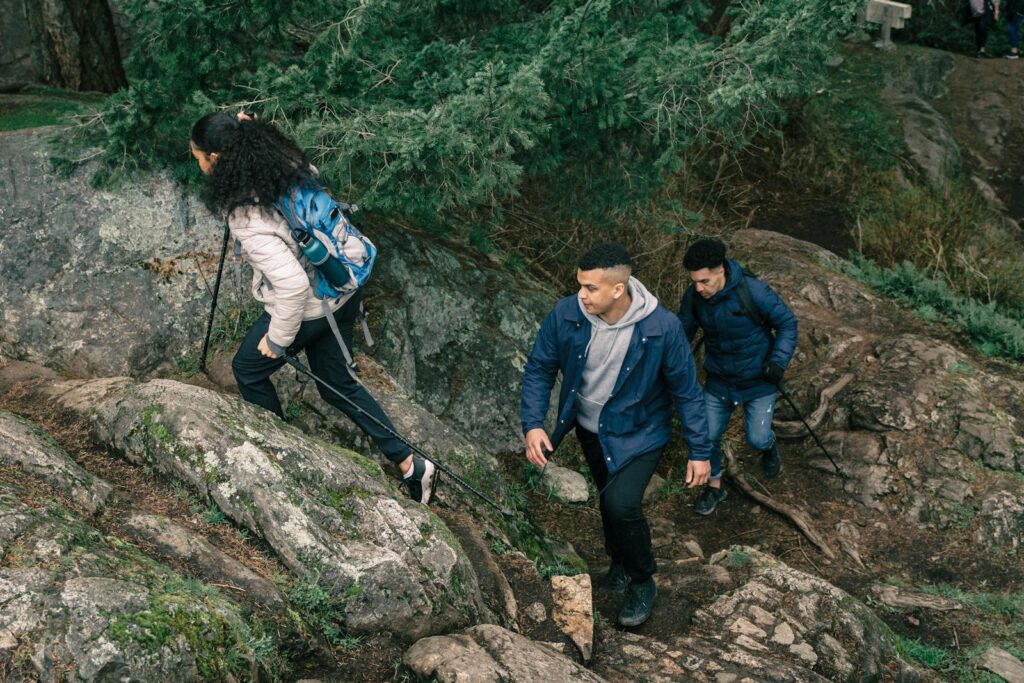
Invest in Quality Trekking Poles
Trekking poles are perhaps the single most effective tool for reducing knee strain during downhill hiking. Studies have shown they can reduce forces on the knees by up to 25% during descent. When using poles, adjust them slightly longer for downhill sections (about 5-10cm longer than your flat terrain setting) to provide optimal support. Plant the poles ahead of you as you step down, effectively transferring some of your body weight and impact forces from your knees to your upper body and the poles. For maximum benefit, use both poles simultaneously or in an alternating pattern with your steps. Look for poles with shock-absorption features, comfortable grips, and adjustable length to customize them to your height and the terrain.
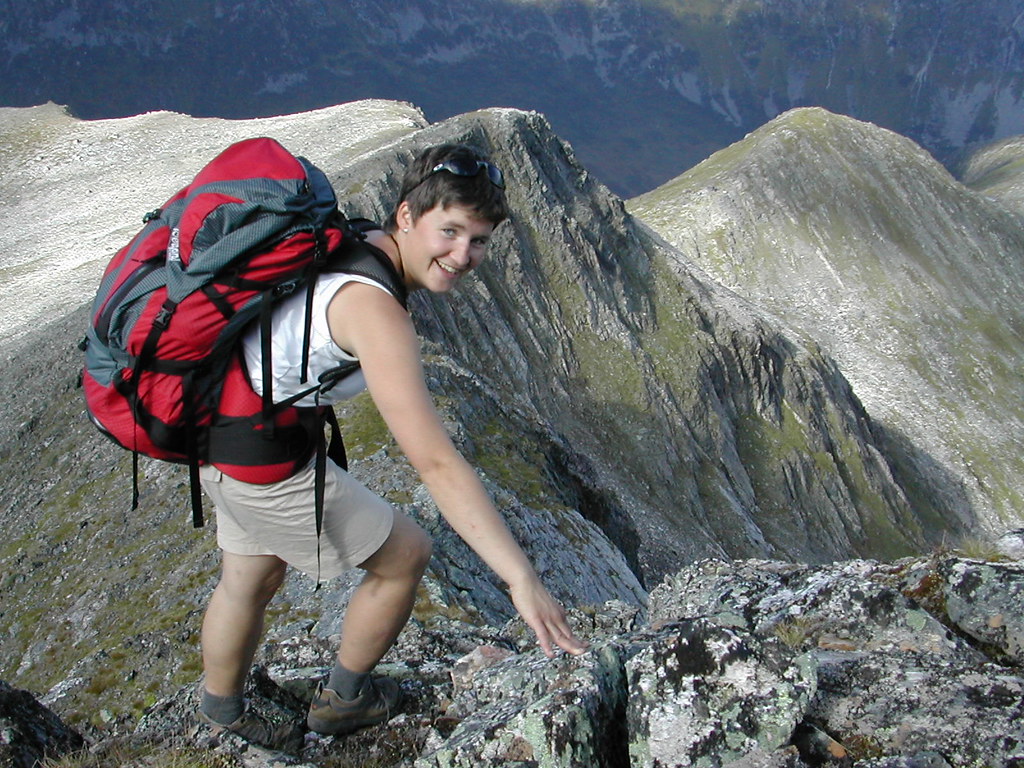
Choose Appropriate Footwear with Proper Support
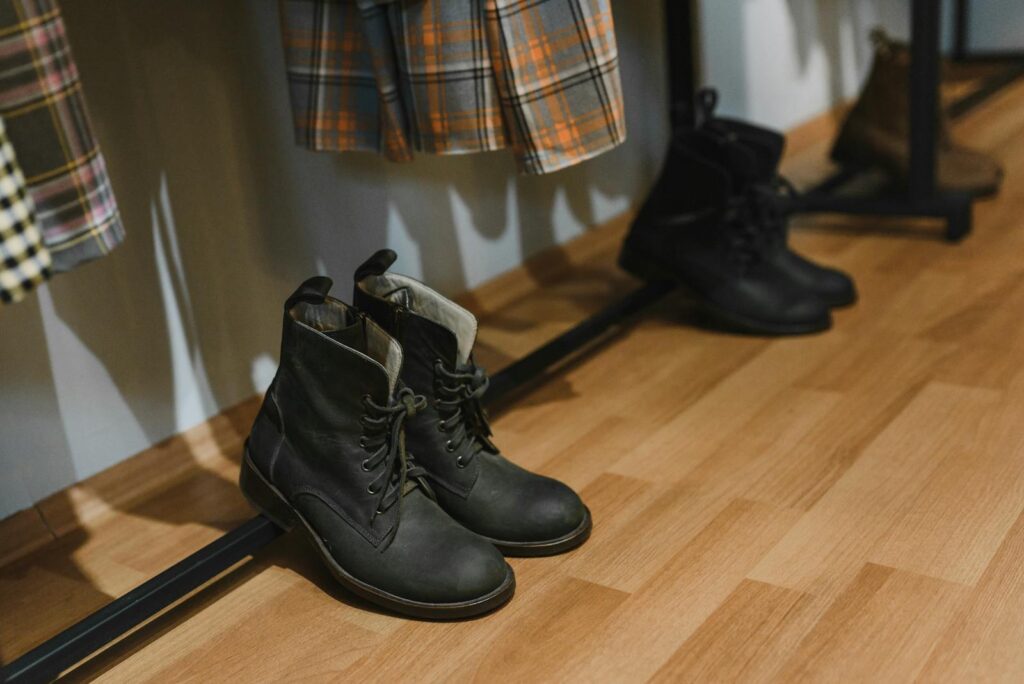
Your choice of footwear significantly impacts knee stress during descents. Invest in hiking boots or shoes with excellent traction, as slipping exerts sudden, harmful forces on knee ligaments. Look for deep, multidirectional lugs on the outsole that can grip various surfaces including loose gravel, mud, and wet rocks. The midsole should provide adequate cushioning to absorb impact, with many hikers benefiting from added insoles designed specifically for high-impact activities. Ensure your footwear offers appropriate ankle support without restricting natural movement, particularly if you’re navigating technical terrain with loose rocks or roots. Properly fitted shoes that prevent your foot from sliding forward during descent are crucial—many experienced hikers recommend going up half a size from your normal shoe size to accommodate foot swelling and prevent your toes from jamming into the front of your boots on downhills.
Strengthen Supporting Muscles Before Your Trek

A pre-trek strengthening program focused on the muscle groups that support your knees can dramatically improve their resilience on the trail. Focus particularly on your quadriceps, which control your descent, and your hamstrings and glutes, which provide stability. Exercises like squats, lunges, step-ups, and leg presses build the strength needed for downhill sections. Include some eccentric training (the lowering phase of movements) since this mimics the muscle action used when hiking downhill. Balance and proprioception exercises such as single-leg stands or wobble board work improve your body’s ability to respond to uneven terrain, potentially preventing falls that could injure your knees. Begin strength training at least 6-8 weeks before a major trek for optimal results, gradually increasing intensity as your muscles adapt.
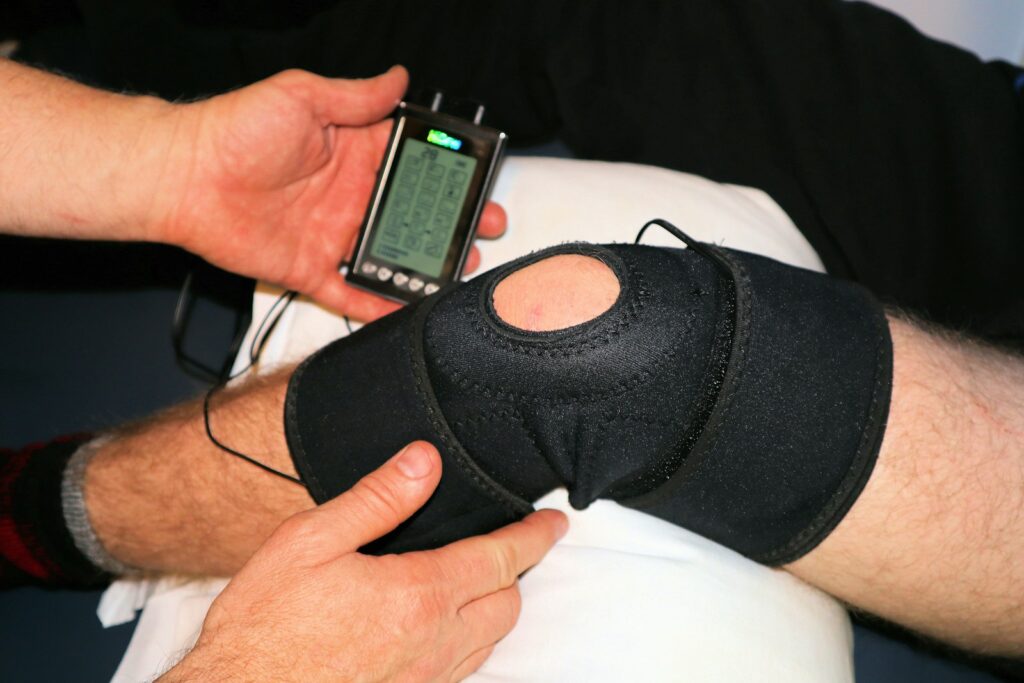
Use Knee Braces or Supports When Necessary
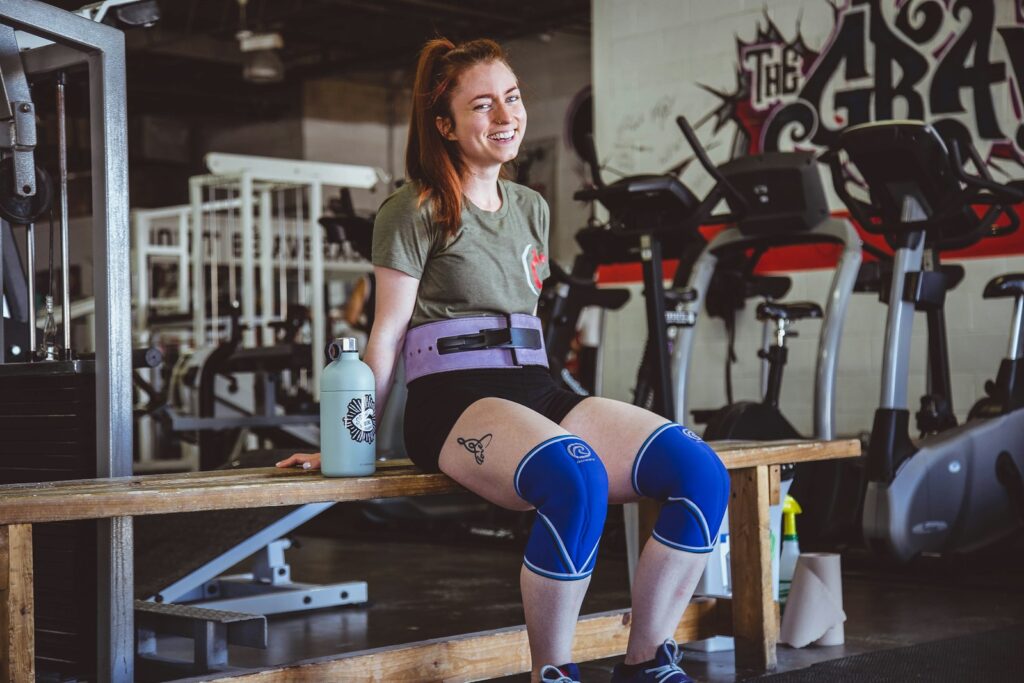
For those with existing knee issues or those undertaking particularly challenging descents, knee braces or supports can provide valuable additional protection. Compression sleeves improve proprioception (your awareness of joint position) and offer mild support while maintaining full mobility. More structured braces with lateral supports can help stabilize the knee for those with ligament instabilities or more serious conditions. Patella straps are specialized bands worn just below the kneecap that can reduce pain for hikers suffering from patellar tendonitis or tracking issues. It’s important to note that braces should complement, not replace, proper technique and conditioning—speak with a healthcare provider to determine the most appropriate support for your specific needs before relying on a brace for a strenuous trek.
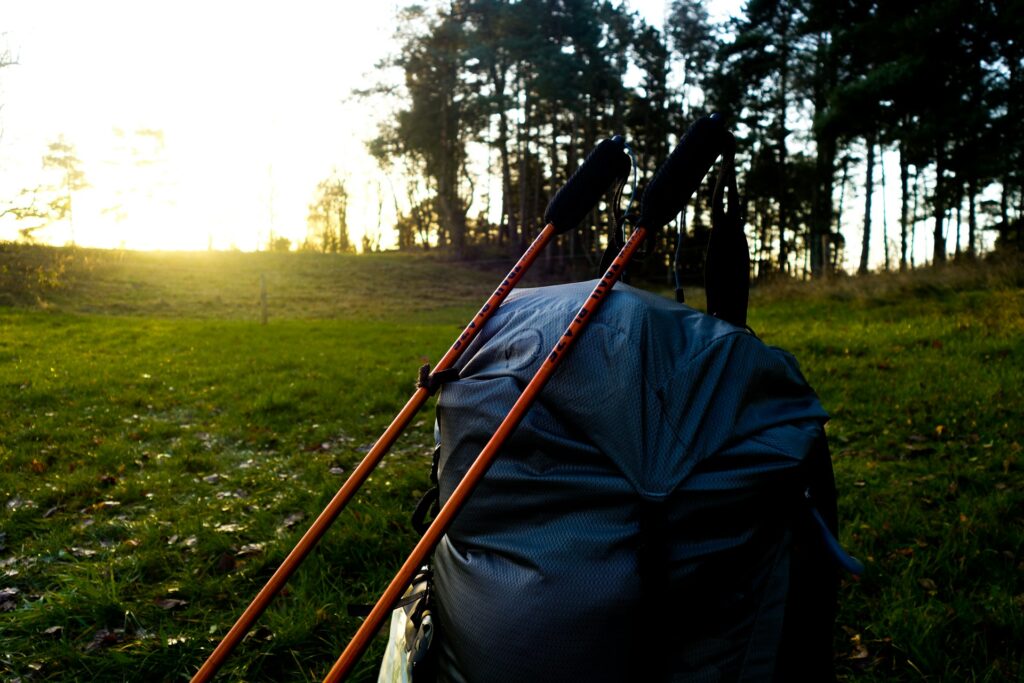
Pack Strategically to Reduce Weight
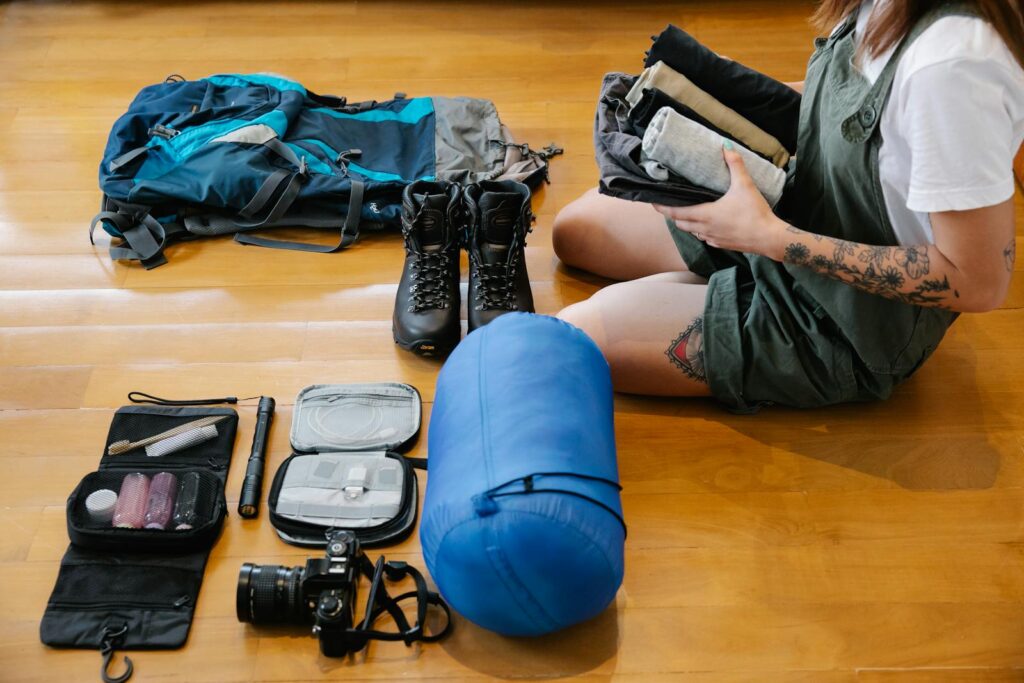
Every extra pound in your backpack multiplies the force on your knees during downhill sections. Pack only essentials and opt for lightweight gear whenever possible without compromising safety. Distribute weight evenly in your pack with heavier items centered against your back and close to your center of gravity. Adjust your pack’s hip belt to transfer weight from your shoulders to your hips, reducing the load your knees must bear. Consider whether items like camera equipment, extra clothing, or luxury items are worth the additional strain they’ll place on your joints. For longer treks, evaluate resupply options that might allow you to carry fewer days of food at once, significantly lightening your load.
Take Strategic Breaks During Descent

Continuous downhill hiking without breaks can lead to muscle fatigue, which compromises your form and places additional stress on your knee joints. Schedule regular short rests before your legs become noticeably tired, allowing your muscles to recover their strength. During breaks, consider elevating your legs slightly if possible to promote circulation and reduce any swelling. Simple stretches for your quadriceps, hamstrings, and calves can help maintain muscle elasticity and prevent tightness that might alter your gait. Pay attention to early warning signs like muscle burning or mild discomfort, as pushing through these signals often leads to compensatory movement patterns that increase knee strain.
Stay Hydrated and Nourished

Proper hydration and nutrition play a surprisingly important role in knee protection during descents. Dehydration reduces the body’s ability to lubricate joints and can contribute to muscle cramping or fatigue, both of which may lead to poor form. Electrolyte balance is particularly important for preventing muscle cramps during extended descents. Consume adequate protein before and during your trek to support muscle repair processes. Anti-inflammatory foods like berries, fatty fish, and nuts may help minimize joint inflammation from the repetitive impact of downhill hiking. Remember that fatigue often sets in more quickly at higher altitudes, so you may need more frequent nutrition and hydration than you would at lower elevations.
Use Side-Stepping Technique for Very Steep Sections
When encountering extremely steep descents, the side-stepping or “traversing” technique can significantly reduce knee strain. Turn your body sideways to the slope and step down with your downhill foot first, followed by your uphill foot, essentially creating a sideways stair-stepping motion. This technique engages different muscle groups and distributes the impact forces more evenly across your knees rather than concentrating them on the front of the joint. Trekking poles become particularly valuable during side-stepping, providing additional stability and support. The side-stepping technique may slow your pace considerably, but the protection it offers your knees on dangerously steep sections makes it well worth the extra time, particularly on loose or slippery terrain where falls could result in serious injury.
Modify Your Pace Based on Terrain
Adjusting your hiking speed according to the terrain is crucial for knee protection. Slow down significantly on particularly steep, technical, or slippery sections to allow for more controlled foot placement and to reduce impact forces. On loose scree or gravel, a slightly quicker pace with smaller steps can actually be easier on your knees than trying to step too deliberately, as it allows you to “float” over the shifting surface. Watch for natural features like rocks or roots that can serve as steps, effectively creating a staircase that reduces the vertical drop of each step. Be especially cautious when transitioning between different terrain types, as these transition zones often cause momentary adjustments in gait that can stress the knees.
Consider Knee-Friendly Trail Alternatives
Sometimes the smartest strategy for protecting your knees is selecting more knee-friendly routes when options exist. Switchback trails, though longer, reduce the effective grade and place less stress on your knees than direct descents. Trails with softer surfaces like forest duff or pine needles provide natural cushioning compared to rocky or paved paths. When planning multi-day treks, consider routes that distribute the downhill sections more evenly throughout your journey rather than ending with a massive descent when your legs are already fatigued. Some popular hiking destinations offer alternative transportation down from summits (such as gondolas or shuttle services) that might be worth considering if you have significant knee concerns or if weather conditions make descents particularly treacherous.
Implement Immediate Post-Trek Recovery Strategies
What you do immediately after your trek significantly impacts your knee health and recovery. Apply ice to your knees for 15-20 minutes if you experience any swelling or discomfort, ideally within two hours of completing your descent. Gentle stretching of all the major leg muscle groups helps prevent post-hike stiffness that could affect your normal movement patterns. Consider compression garments like knee sleeves to reduce inflammation during the recovery period. Elevating your legs above heart level for 30 minutes helps reduce any fluid accumulation in the knee joint. For multiday treks, these recovery practices become even more crucial, as they help prepare your knees for the next day’s challenges while minimizing the cumulative effects of repeated stress.
Protecting your knees during downhill trekking requires a multifaceted approach combining proper technique, appropriate gear, physical preparation, and smart trail strategies. By implementing these evidence-based methods, you can significantly reduce the forces impacting your knee joints and enjoy hiking for many years to come. Remember that knee protection isn’t just about preventing pain during your current trek—it’s an investment in your long-term mobility and outdoor enjoyment. Listen to your body, adapt these recommendations to your personal needs, and don’t hesitate to consult with healthcare professionals if you experience persistent knee issues. With the right approach, the downhill portions of your treks can be just as enjoyable as the journey to the summit.