
When venturing into nature, we hope every hike ends with nothing but beautiful memories. However, accidents can happen even to the most experienced outdoor enthusiasts. Being prepared for trail emergencies can mean the difference between a minor setback and a serious situation. Whether it’s a twisted ankle, a bee sting, or something more severe, knowing how to respond quickly and effectively is essential for anyone who enjoys wilderness activities. This guide will walk you through the steps to take when someone gets injured on the trail, from assessment to evacuation, ensuring you’re prepared for whatever challenges arise during your outdoor adventures.
Assessing the Situation
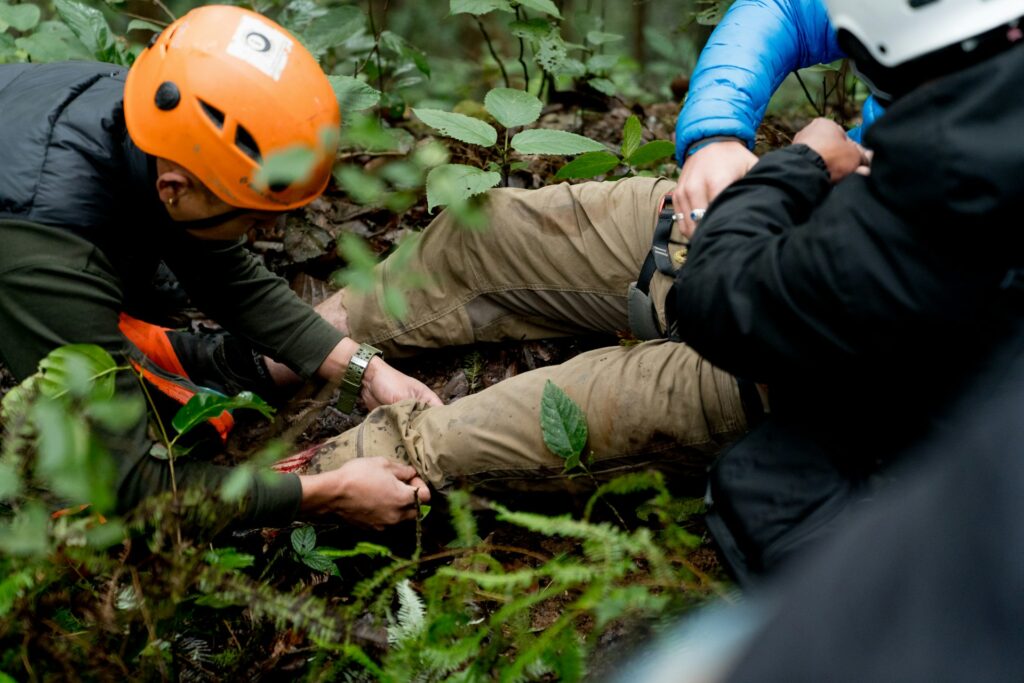
When someone gets hurt on the trail, your first step is to calmly assess what’s happening. Stop all movement, take a deep breath, and perform a quick evaluation of the surroundings to ensure there are no continuing dangers like falling rocks or unstable terrain. Check if the injured person is conscious and responsive, noting their level of awareness and ability to communicate. Determine the nature and severity of the injury without moving the person unnecessarily, as improper movement can worsen certain injuries, particularly those involving the spine or fractures. Remember that your demeanor sets the tone for the emergency response, so maintaining composure helps keep the injured person calm and allows for clearer thinking among everyone present.
Basic First Aid Principles
Understanding fundamental first aid principles is crucial when addressing trail injuries. Always ensure your own safety first before providing assistance, as becoming a second victim only complicates the emergency. When approaching an injured hiker, introduce yourself, explain that you’re there to help, and ask for consent before providing aid if the person is conscious. Follow the ABC protocol: check Airway to ensure it’s clear, verify Breathing is regular, and confirm Circulation by checking for a pulse and controlling any significant bleeding. Position the injured person appropriately – generally keeping them lying down with legs elevated slightly for shock, unless injuries contraindicate this position or the person is having trouble breathing.
Essential First Aid Supplies
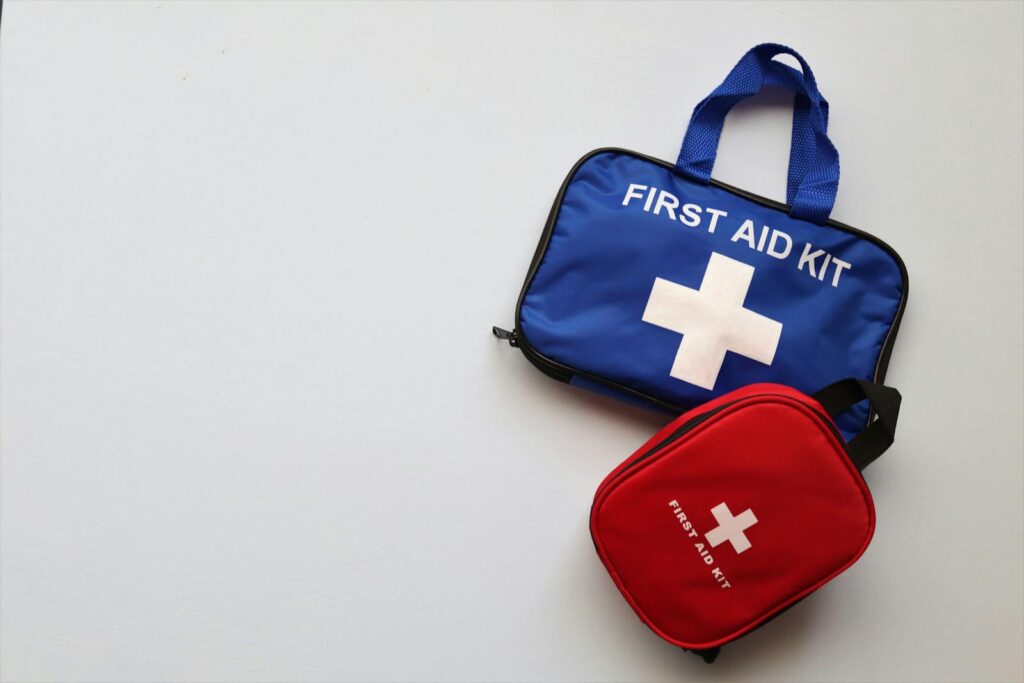
A well-stocked first aid kit is indispensable for trail emergencies and should always be part of your hiking gear. Basic supplies should include various sizes of adhesive bandages, sterile gauze pads, adhesive tape, antiseptic wipes, antibiotic ointment, and pain relievers like acetaminophen or ibuprofen. More comprehensive kits might contain a CPR face shield, emergency blanket, trauma shears, tweezers, instant cold packs, and a SAM splint for immobilizing fractures. Specialty items worth considering for longer treks include blister treatment supplies, an emergency dental kit, irrigation syringe for wound cleaning, and specific medications for allergic reactions. Familiarize yourself with the contents of your kit before hitting the trail, and regularly check expiration dates and replace used items to ensure your kit remains trail-ready.
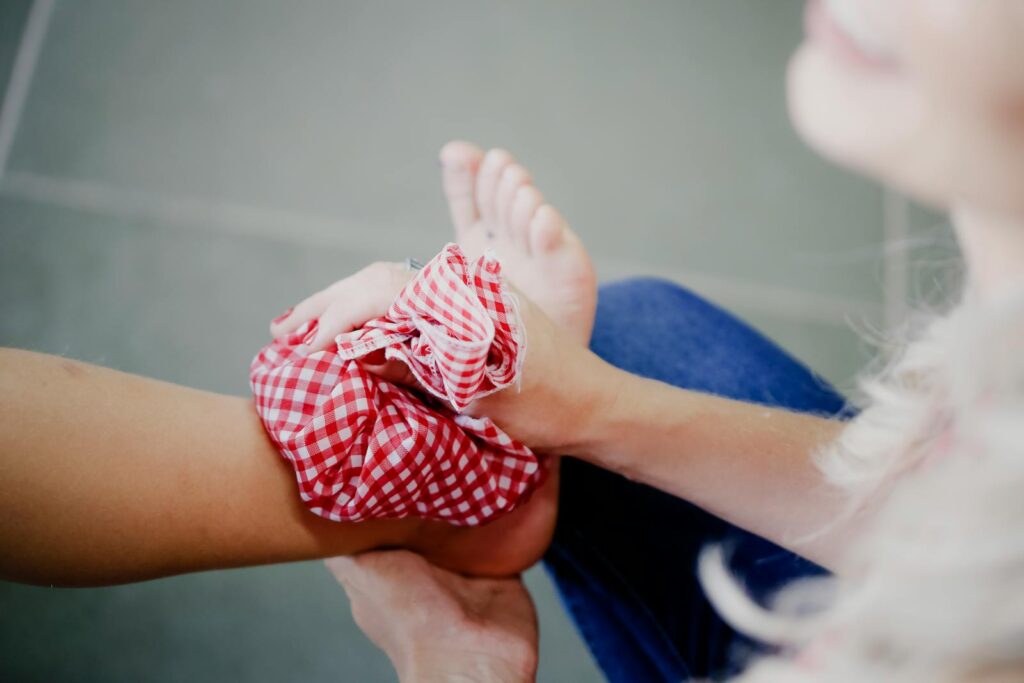
Handling Sprains and Strains
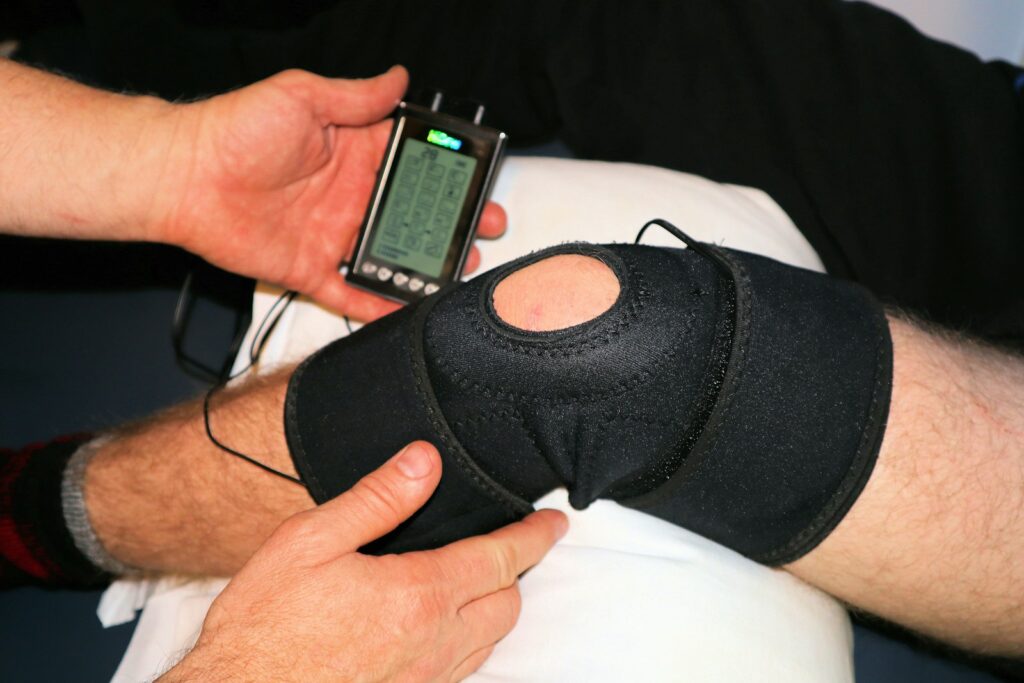
Sprains and strains rank among the most common trail injuries and typically affect ankles, knees, or wrists when hikers navigate uneven terrain. When these injuries occur, implement the RICE protocol immediately: Rest the affected area by stopping activity, Ice the injury with a cold pack if available (or use cold water from a stream in a pinch), Compress the area with an elastic bandage to reduce swelling, and Elevate the injured limb above heart level when possible. For ankle injuries, leaving the boot on can provide natural compression and support, unless it needs to be removed to assess severe swelling or deformity. Pain relievers like ibuprofen can help manage discomfort and reduce inflammation, making it easier for the injured person to self-evacuate if the injury is mild enough to bear weight.
Addressing Cuts and Wounds
When dealing with cuts and wounds on the trail, controlling bleeding is your primary concern. Apply direct pressure to the wound using a clean cloth, gauze pad, or even a clean t-shirt if first aid supplies are limited. Once bleeding slows, clean the wound thoroughly with clean water, ideally filtered or treated drinking water, and remove any visible debris to prevent infection. Apply antibiotic ointment if available, then cover with sterile gauze and secure with adhesive tape or a bandage. For deeper wounds that expose fat, muscle, or bone, or wounds that continue bleeding despite pressure, create a more substantial pressure bandage and prioritize evacuation as these injuries often require professional medical attention including potential stitches, especially in wilderness environments where infection risk is higher.
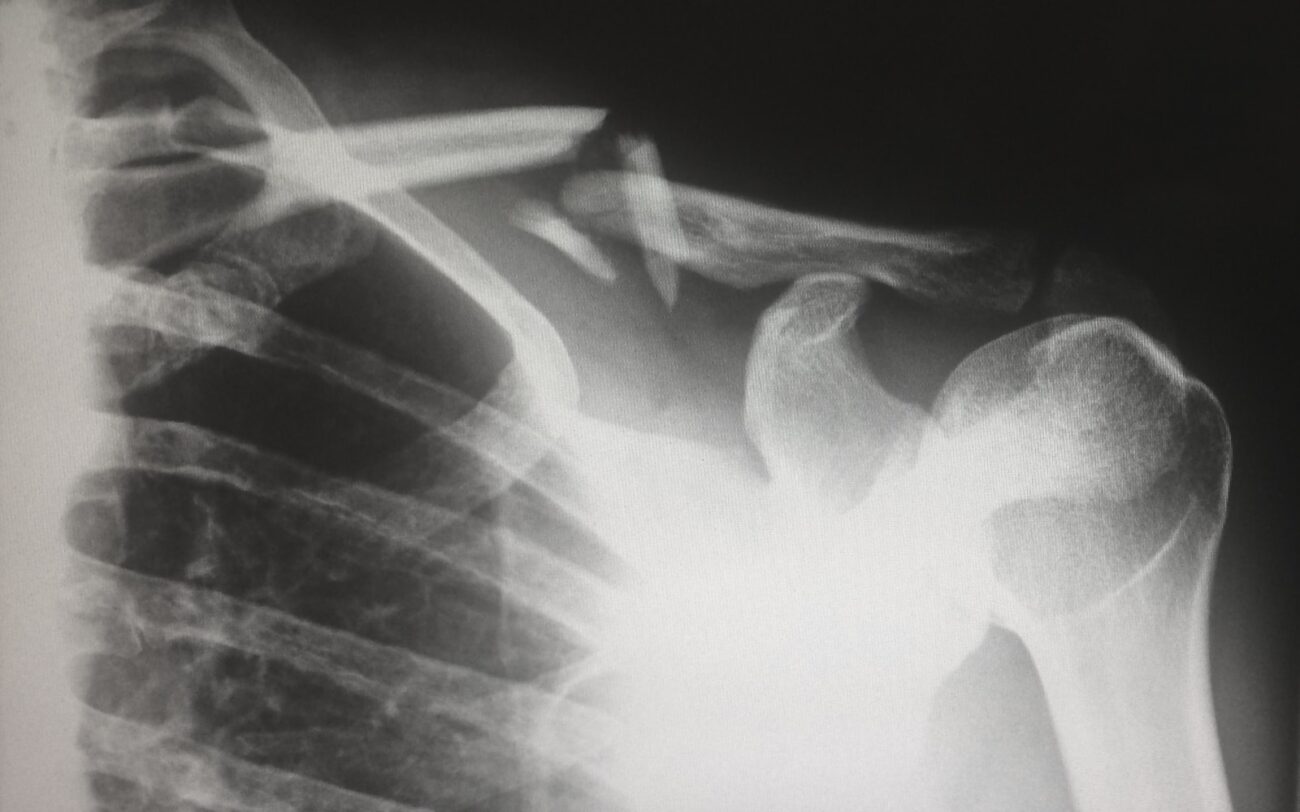
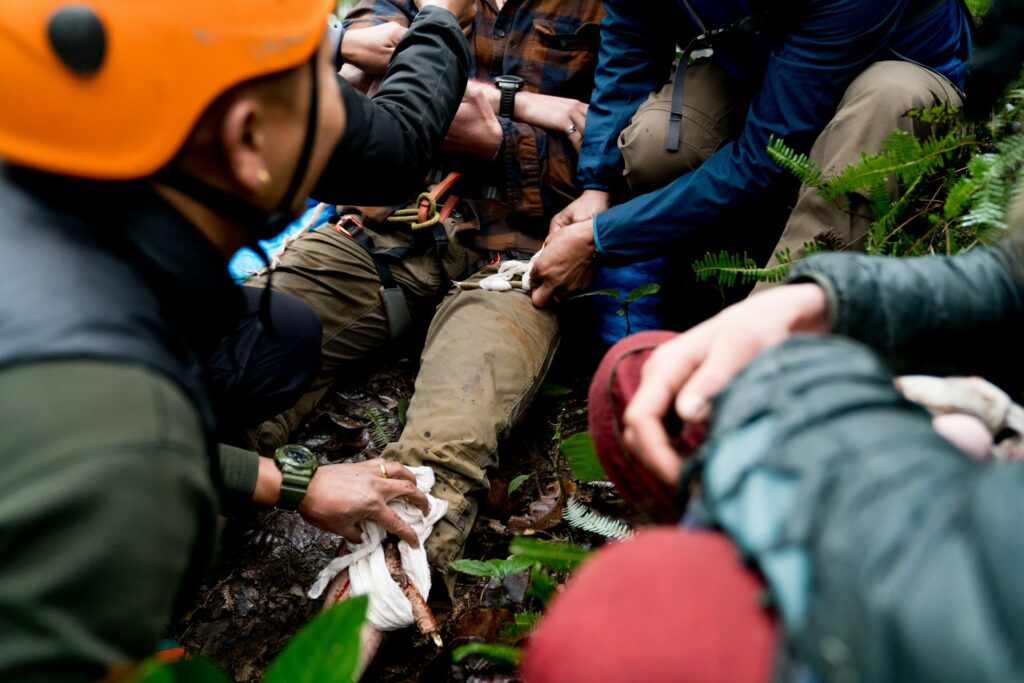
Managing Fractures and Dislocations

Fractures and dislocations require immediate immobilization to prevent further injury and reduce pain. If you suspect a broken bone, avoid attempting to straighten the limb or push protruding bones back under the skin. Instead, gently stabilize the injury in the position found using whatever materials are available – trekking poles, rolled clothing, or branches padded with soft materials can serve as makeshift splints. Secure the splint with bandanas, belts, or strips of clothing, ensuring it’s firm enough to prevent movement but not so tight that it restricts circulation. For suspected spinal injuries, minimize movement entirely and stabilize the person’s head and neck in the position found until professional help arrives. Remember that pain, deformity, swelling, bruising, and inability to bear weight or use the affected area are common signs of fractures and warrant evacuation from the trail.
Responding to Allergic Reactions

Allergic reactions can quickly become life-threatening in remote trail locations, particularly when triggered by insect stings, plant contact, or food allergies. Mild symptoms like localized swelling, hives, or itching can often be managed with oral antihistamines from your first aid kit. However, watch vigilantly for signs of anaphylaxis – a severe reaction characterized by difficulty breathing, swelling of the face or throat, widespread hives, dizziness, or rapid pulse. If the affected person carries an epinephrine auto-injector (like an EpiPen), help them administer it immediately according to instructions, typically into the outer thigh, and prepare for urgent evacuation. Even after epinephrine administration, symptoms may return, so quick medical attention remains essential, and the person should never be left alone during evacuation.
Dealing with Heat-Related Illnesses

Heat-related illnesses progress along a spectrum from mild heat cramps to potentially fatal heat stroke, making early recognition crucial during hot weather hikes. The first signs often include excessive sweating, fatigue, thirst, and muscle cramps, indicating heat exhaustion is developing. Move the affected person to shade immediately, help them into a reclined position, remove excessive clothing, and actively cool them with water applied to the skin – particularly on the neck, armpits, and groin where blood vessels run close to the surface. Encourage small sips of water or electrolyte drinks if the person is alert and not nauseated. If symptoms worsen to include confusion, cessation of sweating, extremely high body temperature, or unconsciousness, you’re dealing with heat stroke – a true medical emergency requiring immediate cooling measures and rapid evacuation.
Treating Cold-Related Emergencies
Hypothermia and frostbite represent serious dangers on cold-weather trails, often developing insidiously as body temperature gradually drops. Early hypothermia presents as shivering, confusion, fumbling hands, and slurred speech – if you notice these signs, immediate action is necessary. Remove wet clothing, provide dry layers and insulation including a hat, and offer warm, sweet drinks if the person is alert. For moderate to severe hypothermia, handle the person gently to prevent cardiac arrhythmias, use body-to-body contact inside sleeping bags if available, and apply heat packs to the torso, armpits, and groin – never to extremities, which can dangerously redirect cold blood to the core. For frostbite, characterized by pale, cold, and numb skin on extremities, avoid rubbing the affected areas or applying direct heat; instead, rewarm gradually once in a stable environment where refreezing won’t occur, as the freeze-thaw-refreeze cycle causes significantly worse tissue damage.
Wilderness CPR Considerations

Cardiopulmonary resuscitation in wilderness settings follows different protocols than urban environments due to the extended time before professional medical care becomes available. If you encounter an unresponsive person without normal breathing, begin CPR immediately after ensuring scene safety and checking for a pulse. In wilderness situations, CPR may be performed for longer periods than typically recommended in urban settings – up to an hour or more if there’s any chance of survival, particularly in hypothermia cases where patients may survive despite prolonged cardiac arrest. The American Heart Association recommends compression-only CPR for untrained rescuers, pressing hard and fast on the center of the chest at a rate of 100-120 compressions per minute. If multiple rescuers are present, establish a rotation system to prevent fatigue and maintain effective compressions while others work on evacuation plans.
Communication and Getting Help

Effective communication is crucial when someone is injured on the trail, particularly in remote areas where cell service is unreliable. Before any wilderness trip, inform someone reliable of your detailed itinerary, planned route, and expected return time, so they can alert authorities if you don’t check in. Satellite communication devices like SPOT, Garmin inReach, or satellite phones provide emergency contact ability beyond cellular networks and are increasingly considered essential backcountry equipment. If evacuation becomes necessary, sending two people for help (when group size permits) is safer than one, with clear written details about the patient’s condition, location (ideally with GPS coordinates), and nature of injuries. Those remaining with the injured person should make the site visible from the air by creating contrast with surrounding terrain using bright clothing or gear arranged in an X pattern, the universal distress signal.
Evacuation Decision Making

Determining whether to evacuate an injured person or wait for rescue involves careful assessment of multiple factors including injury severity, distance from trailhead, available resources, weather conditions, and group capabilities. Self-evacuation may be appropriate for minor injuries where the person can walk with assistance, while severe injuries requiring immobilization generally necessitate a rescue team. Consider time factors carefully – starting a difficult evacuation late in the day risks traveling in darkness, which compounds dangers substantially. When deciding to stay put and wait for rescue, focus on maintaining the patient’s condition by providing shelter from elements, managing pain, preventing hypothermia, and monitoring vital signs regularly for changes. Document all observations and interventions with times noted, as this information will be valuable for medical professionals who eventually take over care.
Improvising With Limited Resources

Wilderness first aid often requires creative problem-solving with whatever materials are available in your pack or natural environment. Trekking poles paired with a jacket can create an effective splint for arm injuries, while sleeping pads cut or folded provide excellent immobilization for leg fractures. Bandanas and buffs serve multiple purposes from triangular arm slings to wound coverings or tourniquets in extreme bleeding situations. A foam sleeping pad can be fashioned into a cervical collar for neck stabilization by cutting and folding it appropriately. Even seemingly simple items like safety pins, duct tape, and plastic bags have numerous emergency applications – from securing bandages to creating waterproof coverings for wounds or improvising vapor barriers for hypothermia treatment. Practicing these improvisation techniques before they’re needed builds confidence and competence for real emergencies.
Prevention and Preparation

The best way to handle trail emergencies is to prevent them through proper preparation and risk management. Before any hike, research your route thoroughly, understand the terrain challenges, check weather forecasts, and assess whether the trail matches your group’s fitness and experience level. Carry the ten essentials on every outing: navigation tools, sun protection, insulation (extra clothing), illumination, first aid supplies, fire starter, repair kit/tools, nutrition, hydration, and emergency shelter. Consider taking a wilderness first aid course specifically designed for outdoor emergencies, as these skills differ significantly from urban first aid approaches. Establish clear communication protocols within your group before starting, including regular check-ins, regroup points, and what to do if someone becomes separated from the party – these simple preparations dramatically reduce the likelihood of emergencies and improve outcomes when incidents do occur.
While no one plans for injuries on the trail, being prepared with knowledge and supplies can transform a potentially dangerous situation into a manageable one. The wilderness presents unique challenges for first aid and evacuation, making specialized knowledge particularly valuable. Remember that your most important tools are a calm demeanor, clear thinking, and the ability to use available resources creatively. By understanding these principles and practicing skills before they’re needed, you become an invaluable resource not just for your hiking companions, but potentially for any fellow outdoor enthusiasts you encounter on the trail. Stay prepared, stay safe, and continue to enjoy the remarkable experiences that wilderness travel offers.